Basic Sewing Machine & Serger Maintenance
This tutorial shows the basic steps for performing routine maintenance on a sewing machine and serger.
This type of maintenance should be performed regularly to help ensure your machine will continue to operate efficiently.
Every machine is different, and the steps and photos below are for general reference only, and will not match exactly to your machine. Refer to your user's manual for instructions that are specific to your machine before performing any maintenance.
What You'll Need
- Tweezers
- Screwdrivers
- Needle holder - For catching needles when changing them out
- Small lint brushes - For applying grease and removing lint, but use two different brushes for each task
- Machine brush (double sided)
- Machine oil
Sewing Machines
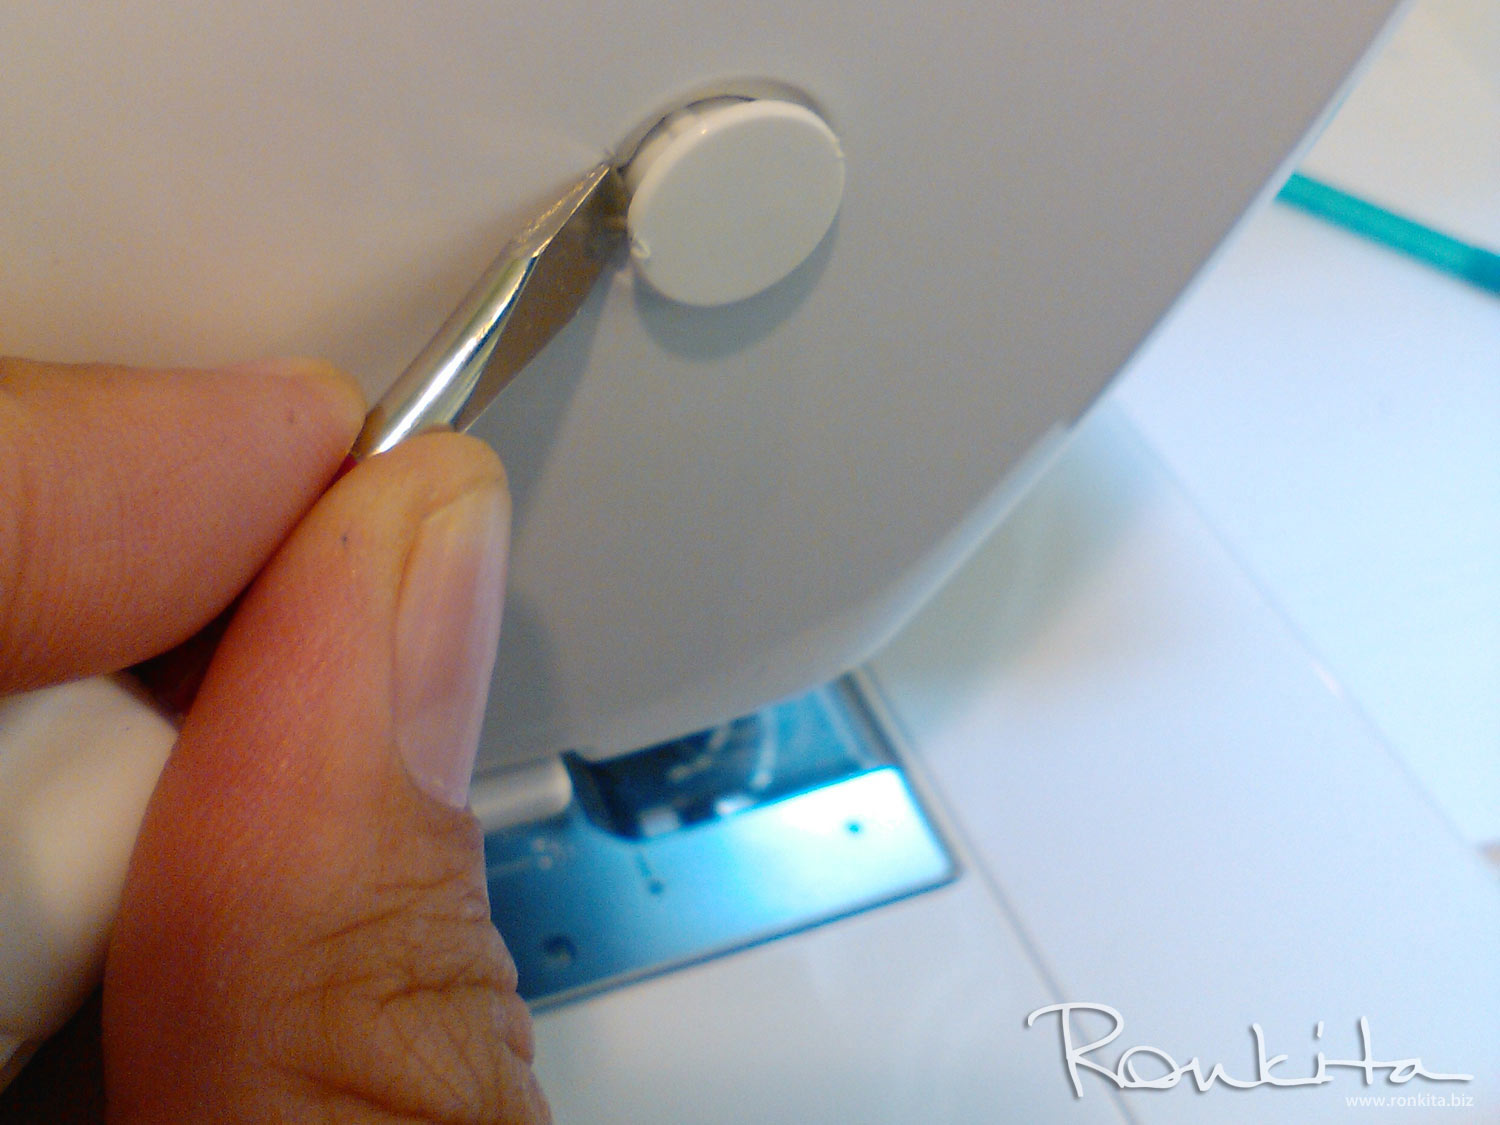
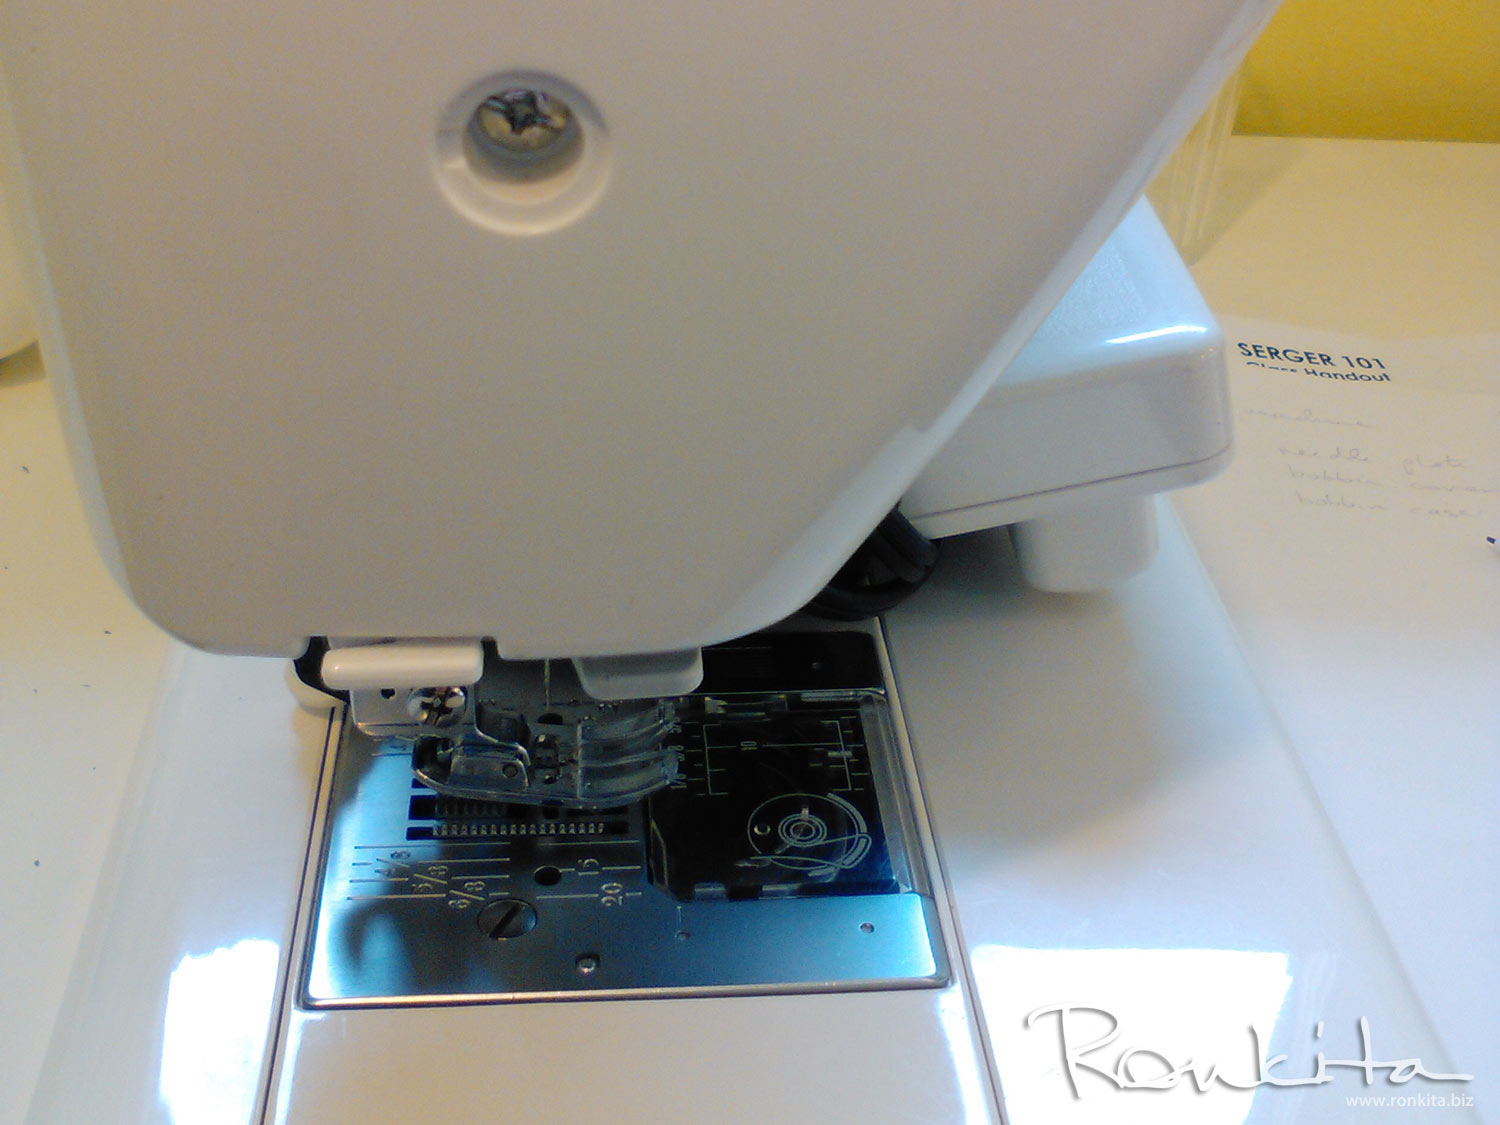
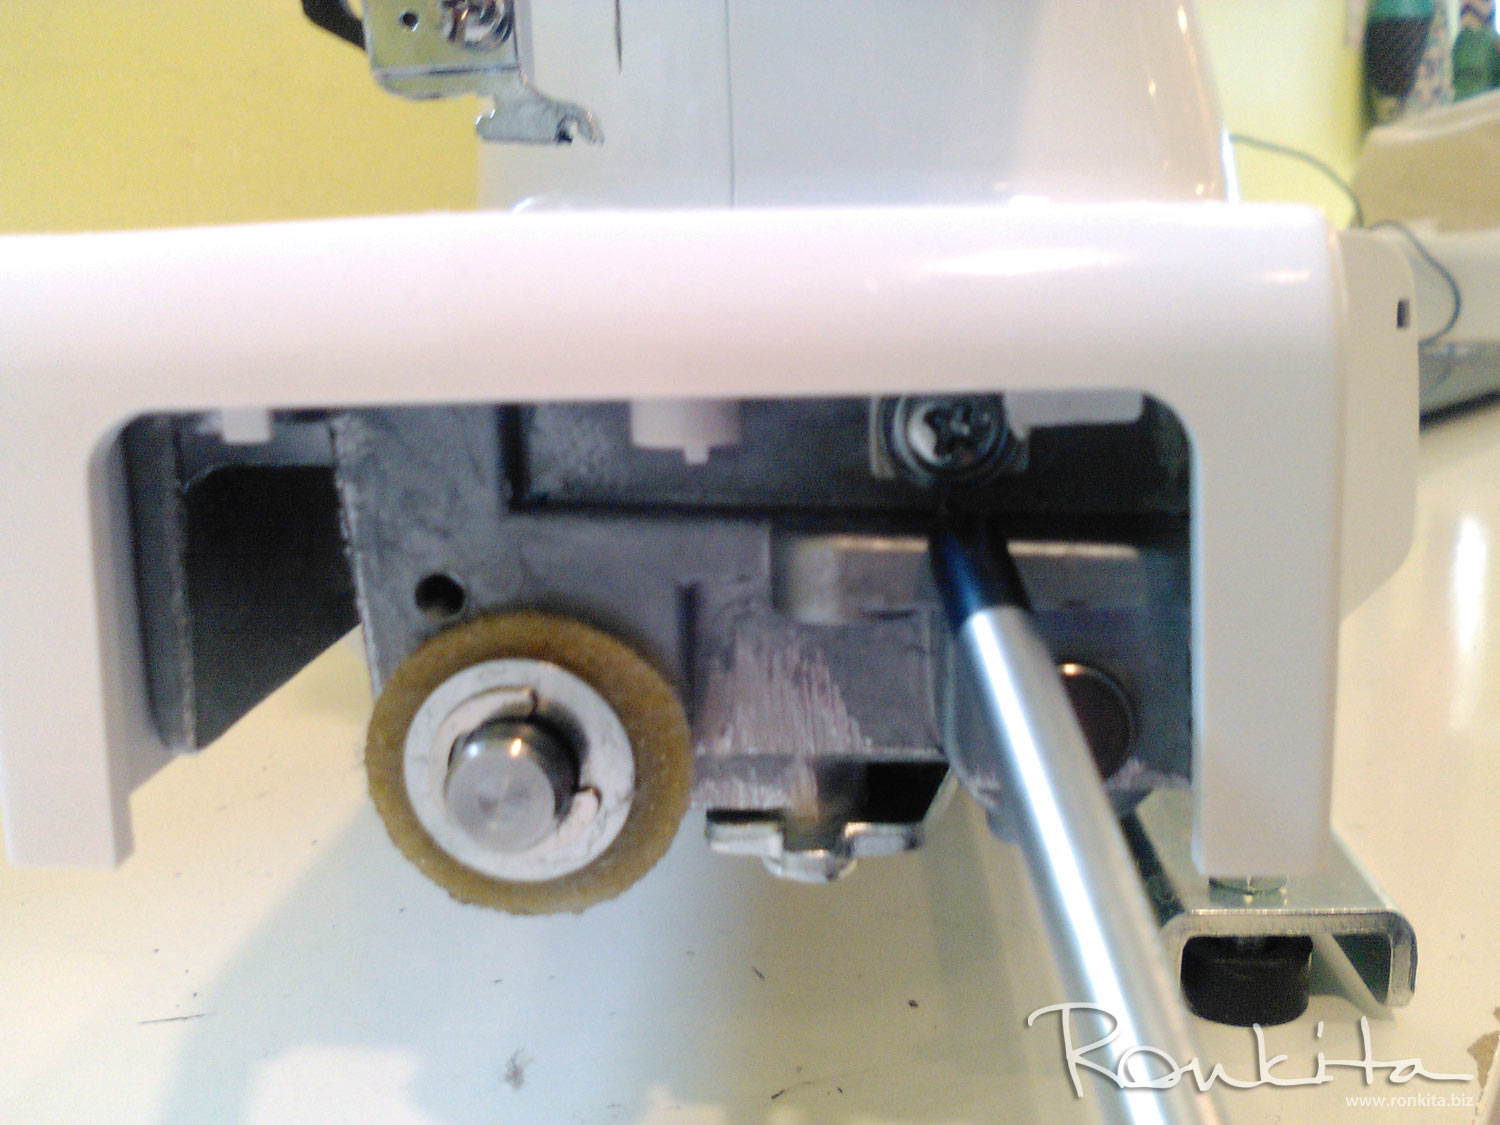
Unscrew your top screws first. It is likely you are not able to lift it without unscrewing one (or more) additional screw. To find this screw/s you will need to remove or open your side panel first. Some side panels have a hidden screw. It will have a round plastic piece covering the screw. See Janome below:
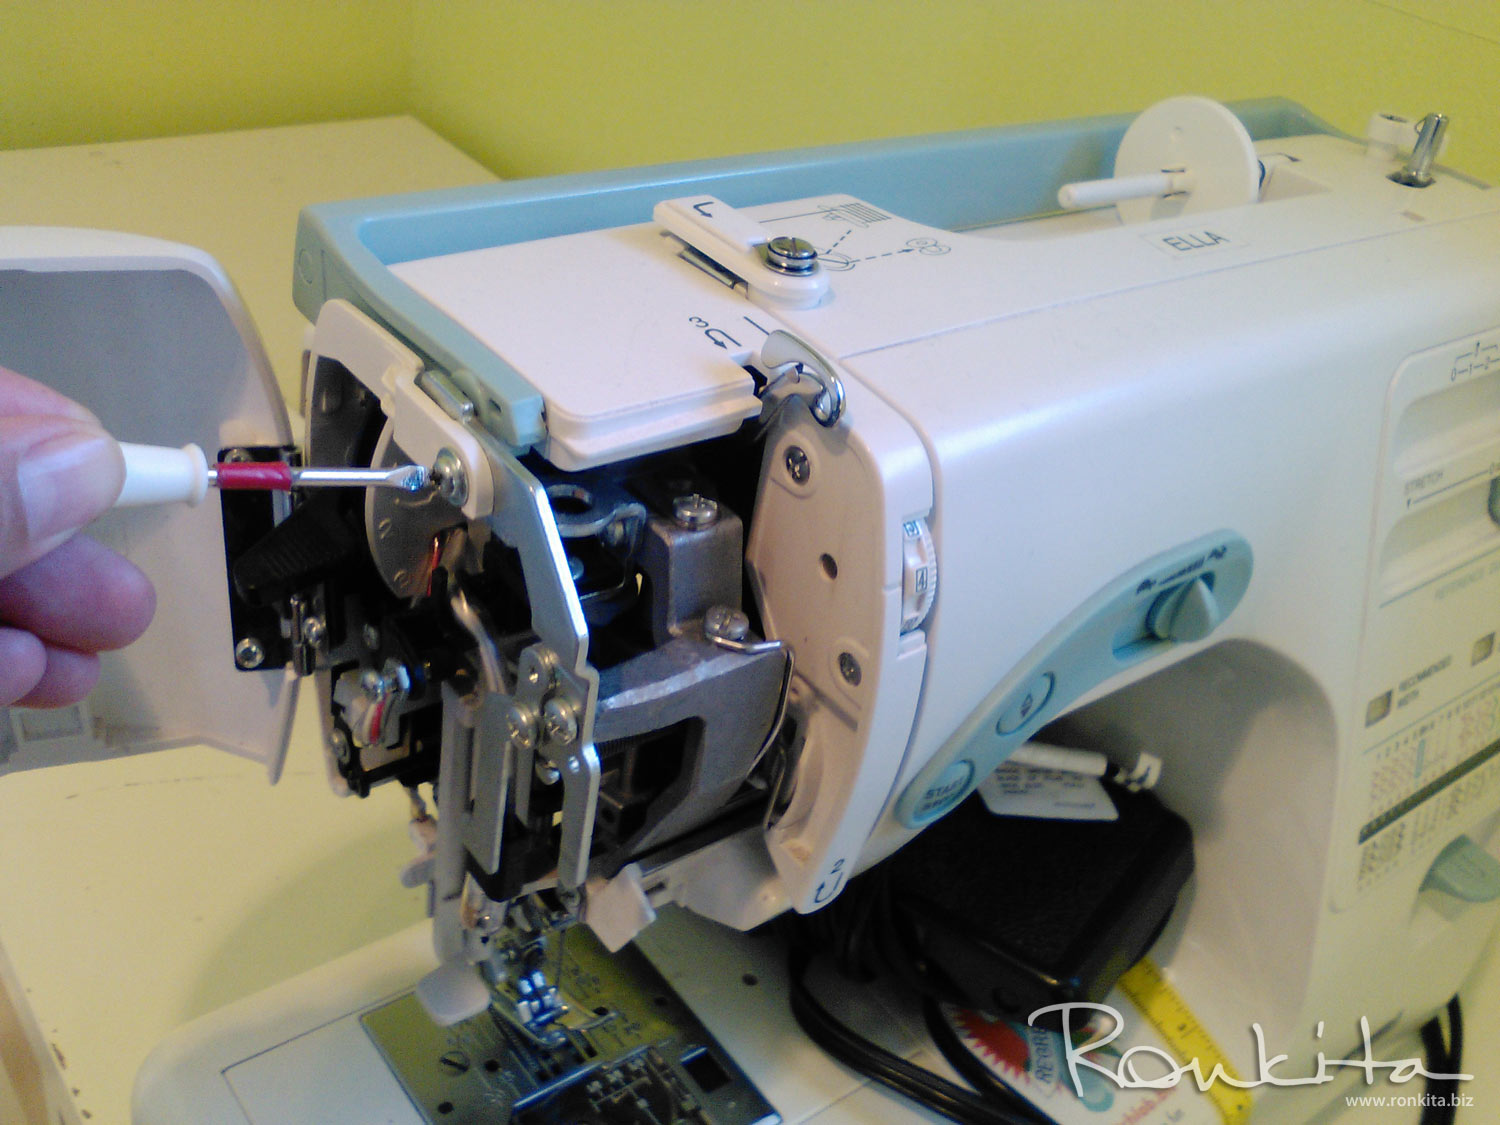
Most vintage machines (or other styles) will likely have swing out side panels like the Kenmores at Stitch Lab. Machines will likely have another screw that keeps the top panel on that you can only get to by removing or opening the side panel first. See photos below - left is on a Janome and right is on a Kenmore

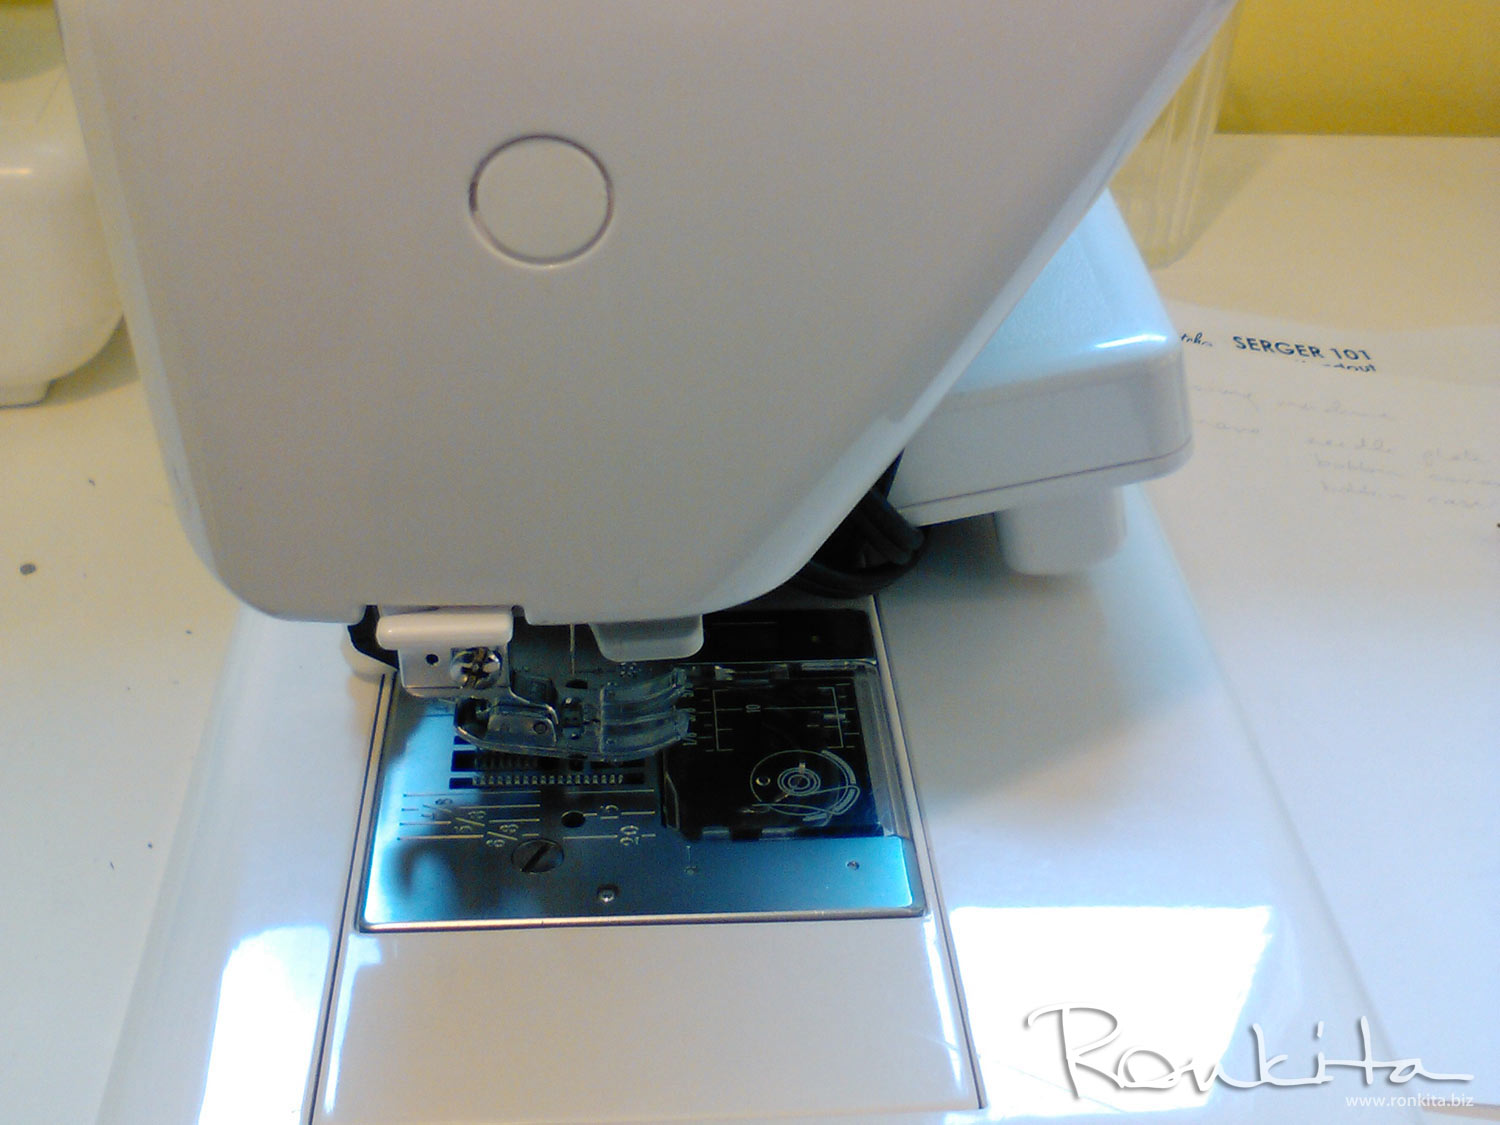
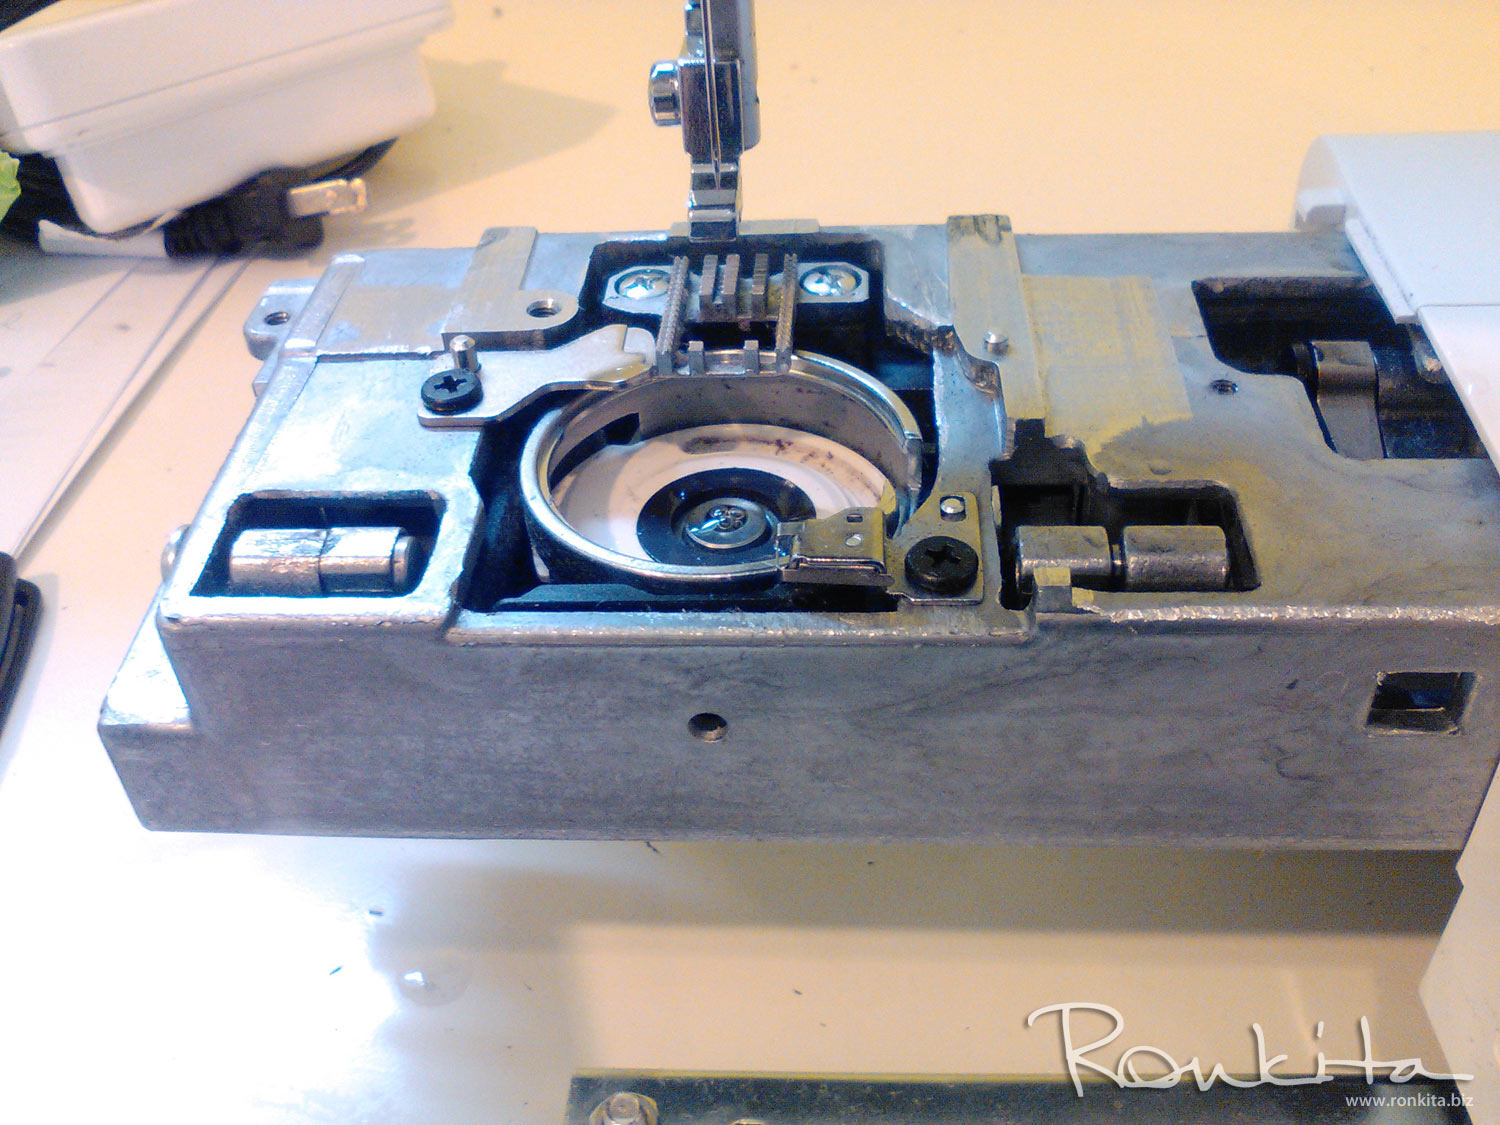
Now to take off the bottom pieces. This is where MOST of your lint and dirt/grime will accumulate. Remove your free arm first. Then use your small nubby screwdriver to remove needle plate.
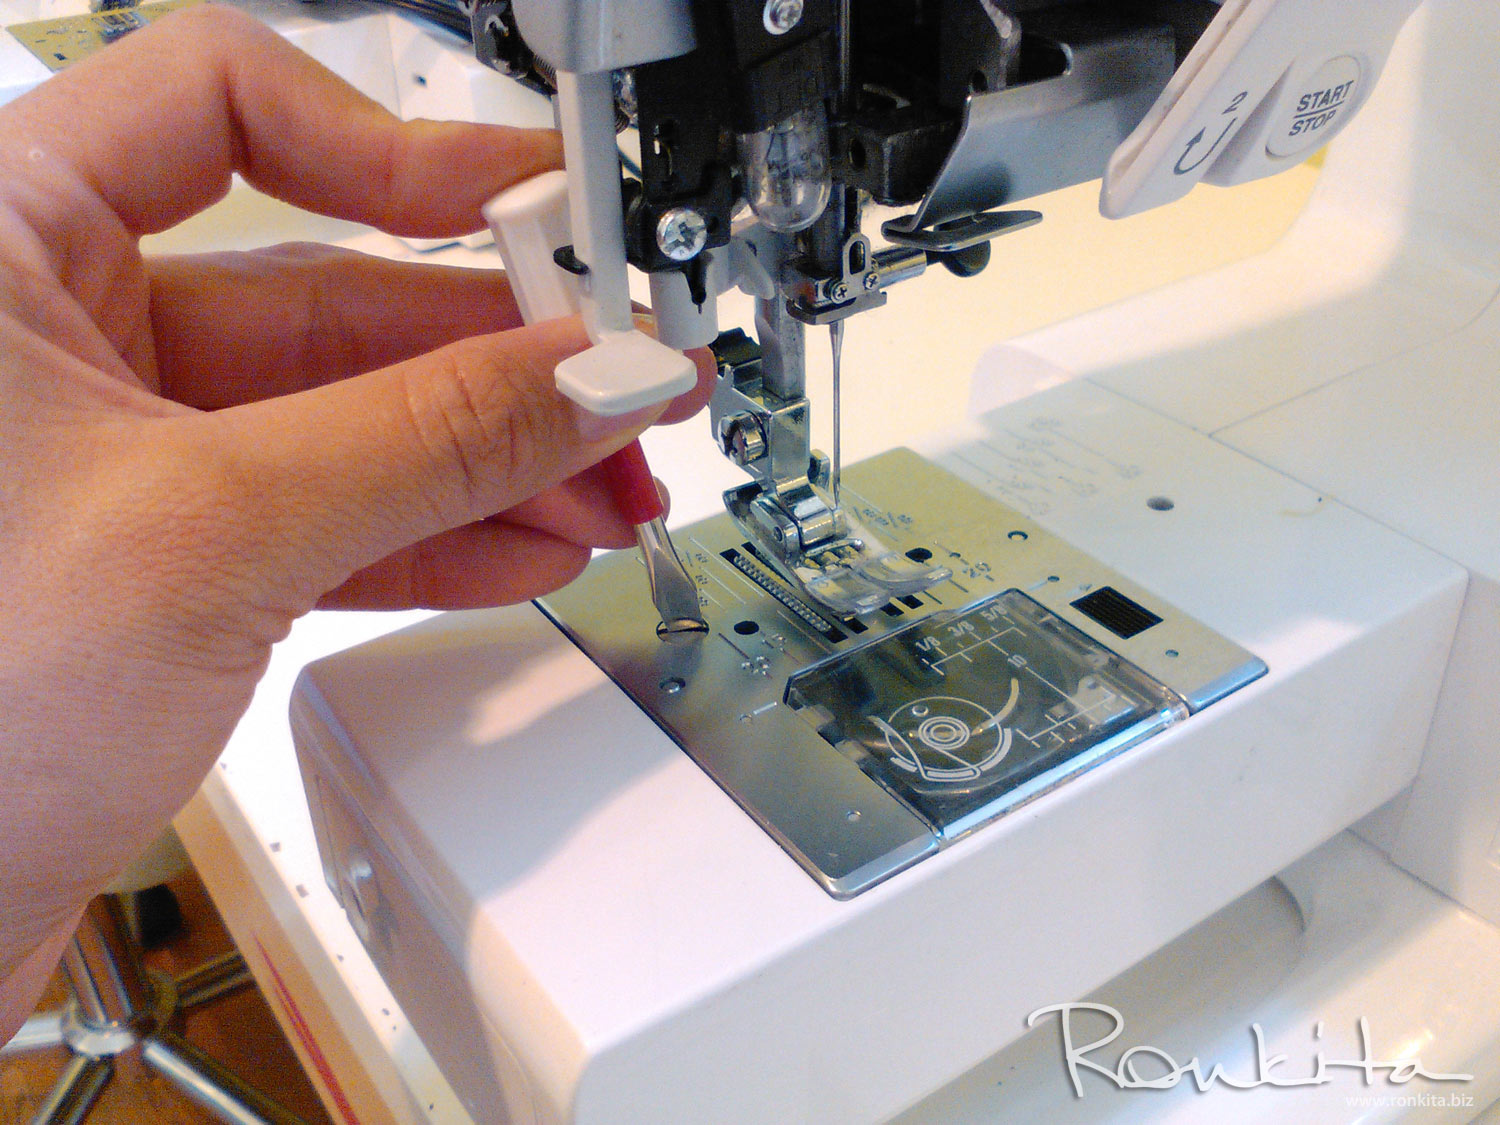
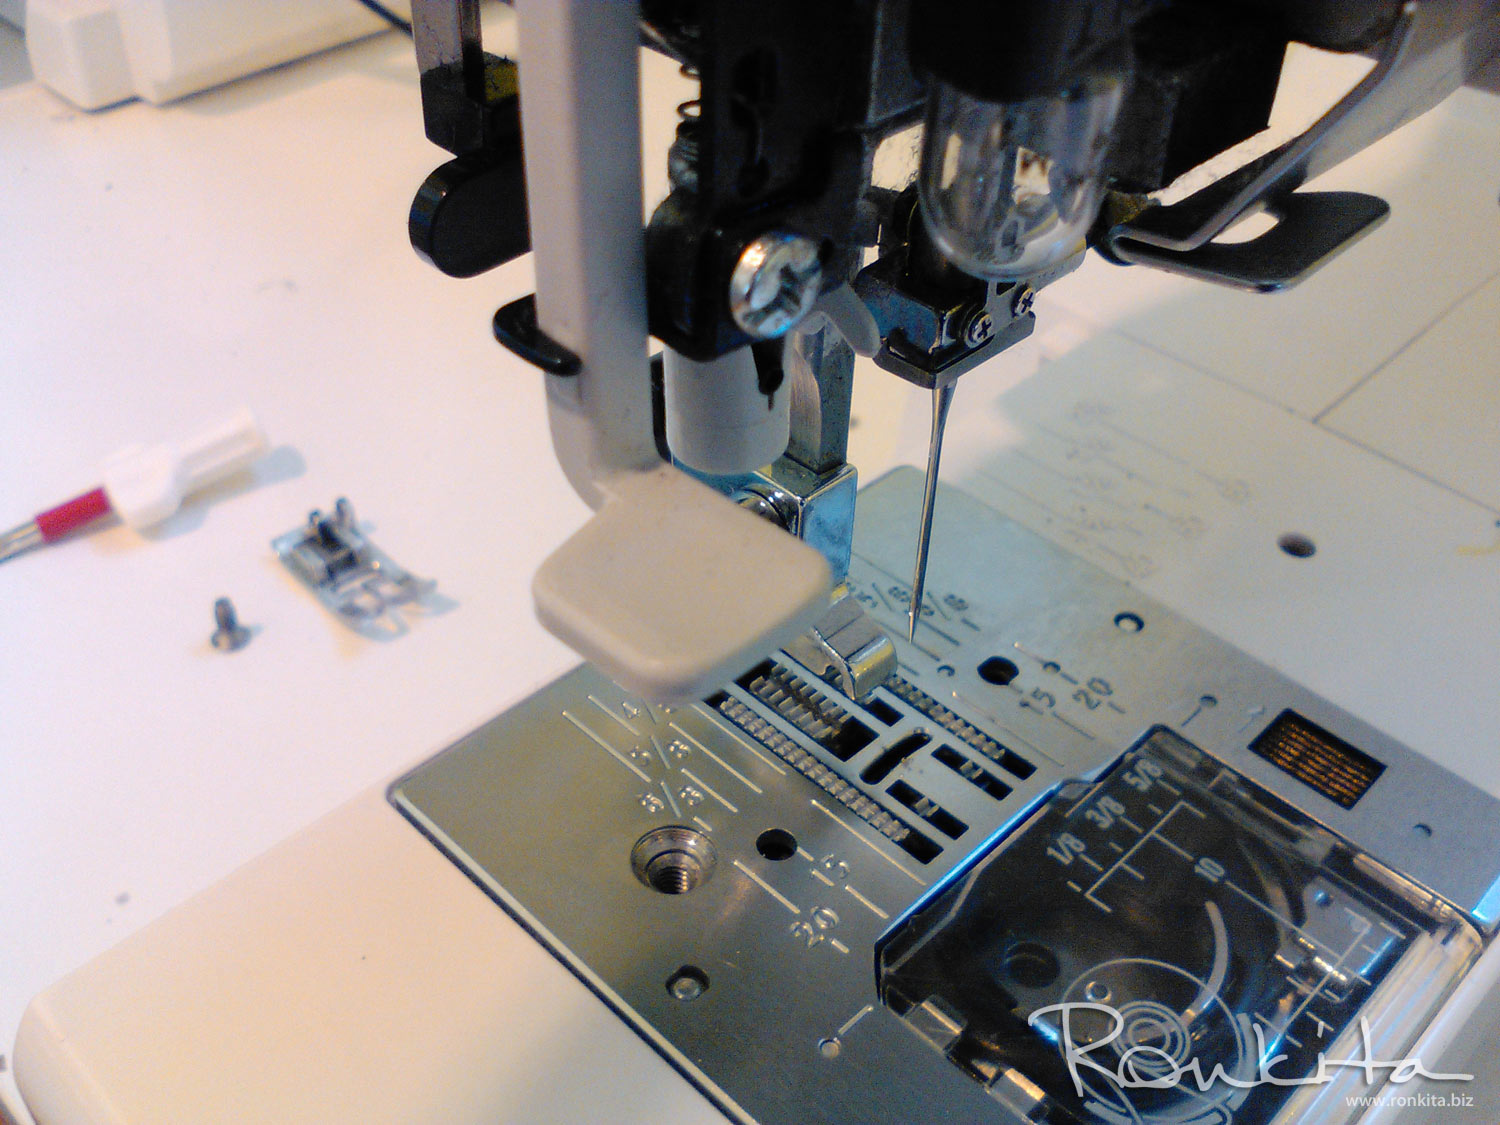

This will give you access to your bobbin case and underneath the case itself.
Now flip your machine on the back so you are looking at the bottom. *Some vintage machines are in their own cases and can be heavy so put something down for your machines to lay on (I use my tailor's ham) so the case does not snap up. If you have one of these machines, this will make sense.
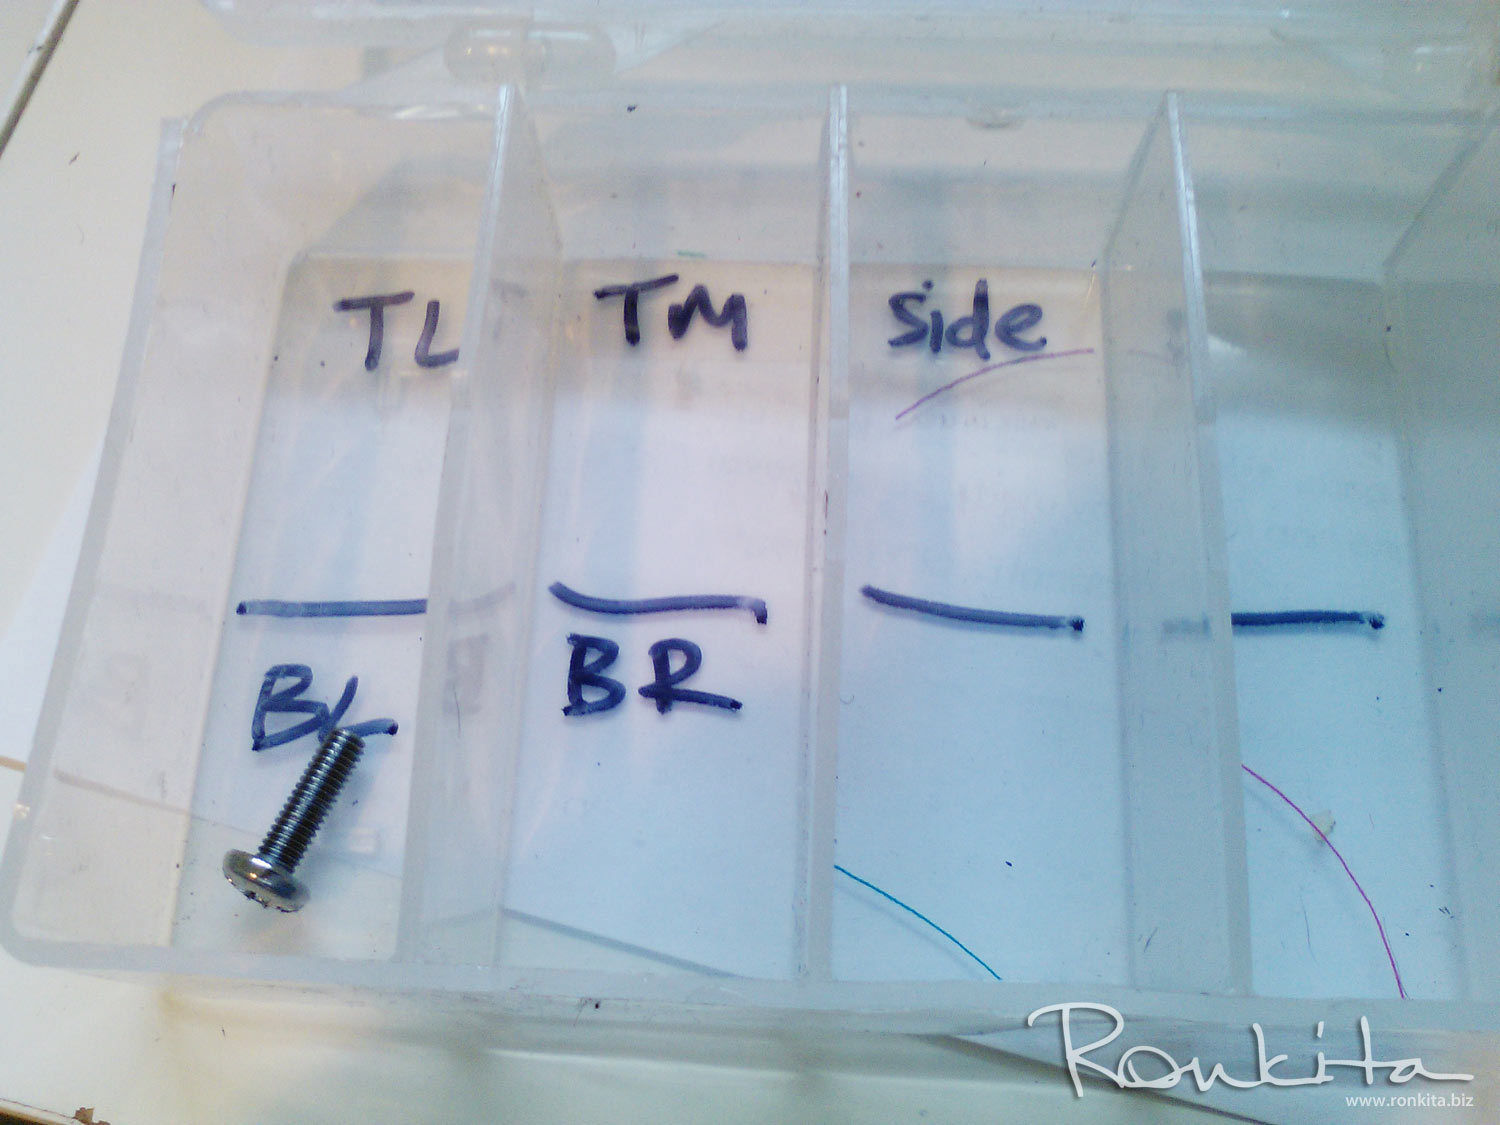
Take out all screws that attach the bottom. You can use your tray or container at this point to keep everything together and prevent it from getting lost.
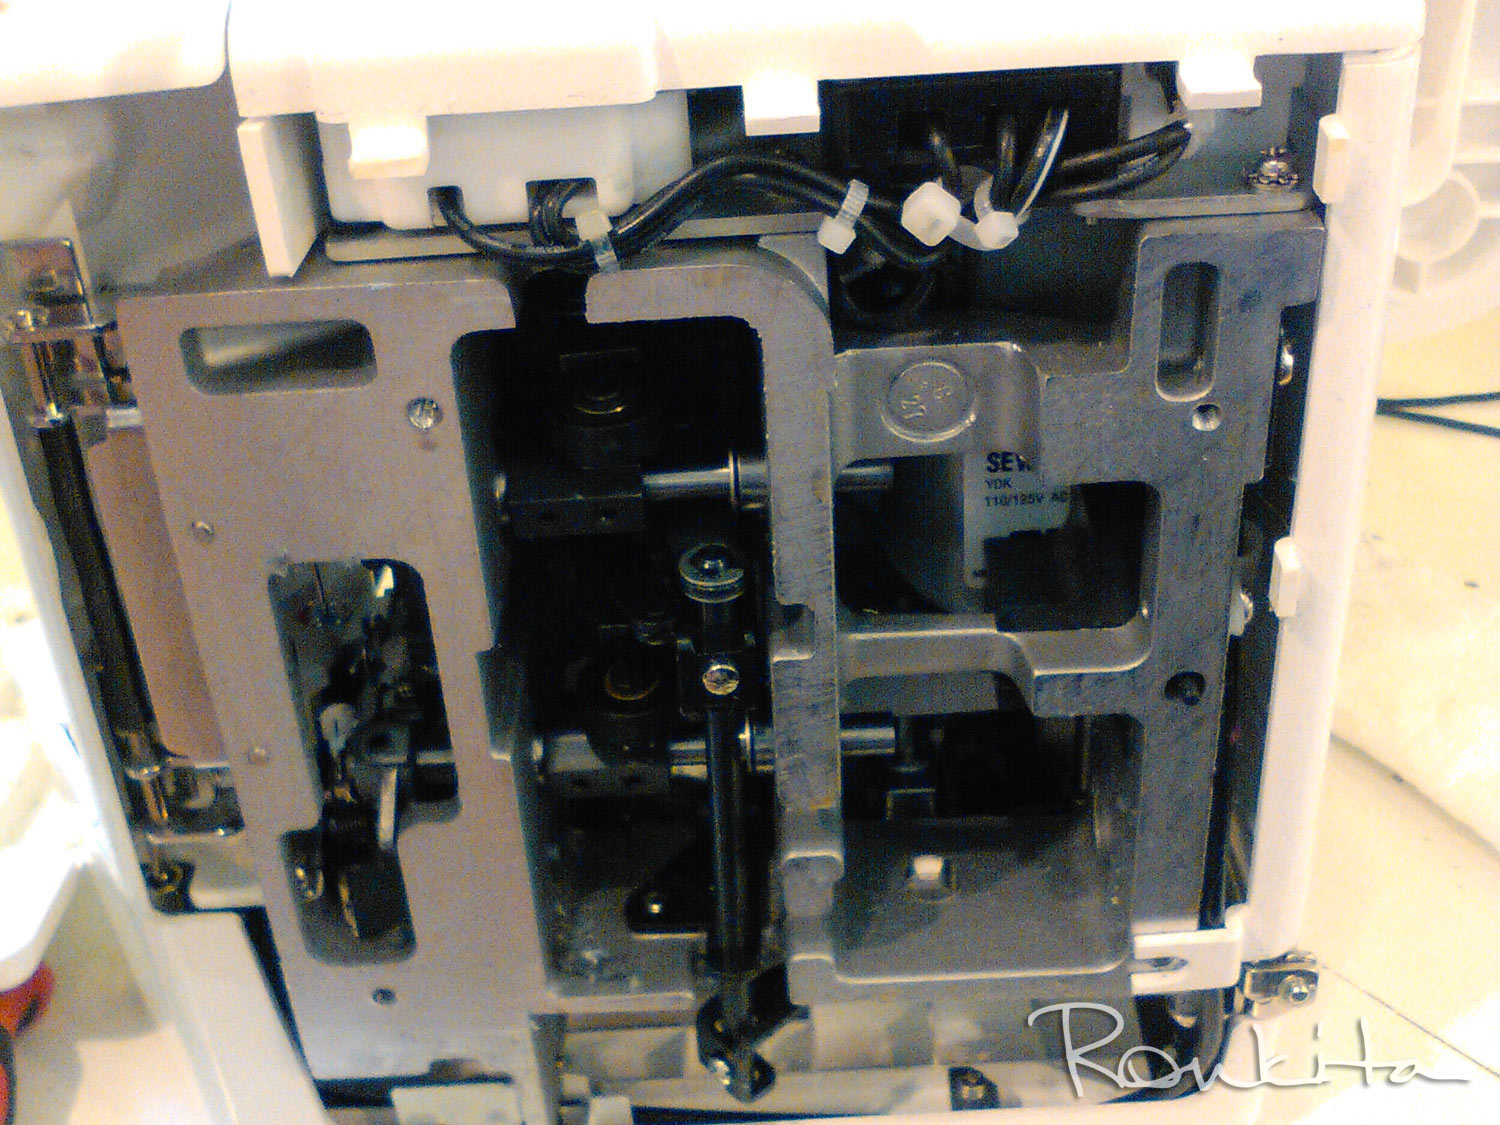
Remove all other screws in order to allow you to remove the bottom panel. *All machines are different so consult your owner's manual if you have doubts or questions. Now that your bottom panels are off, make sure the take the plastic panel off that is sitting on top of the bobbin case. This is often attached with a hidden screw.
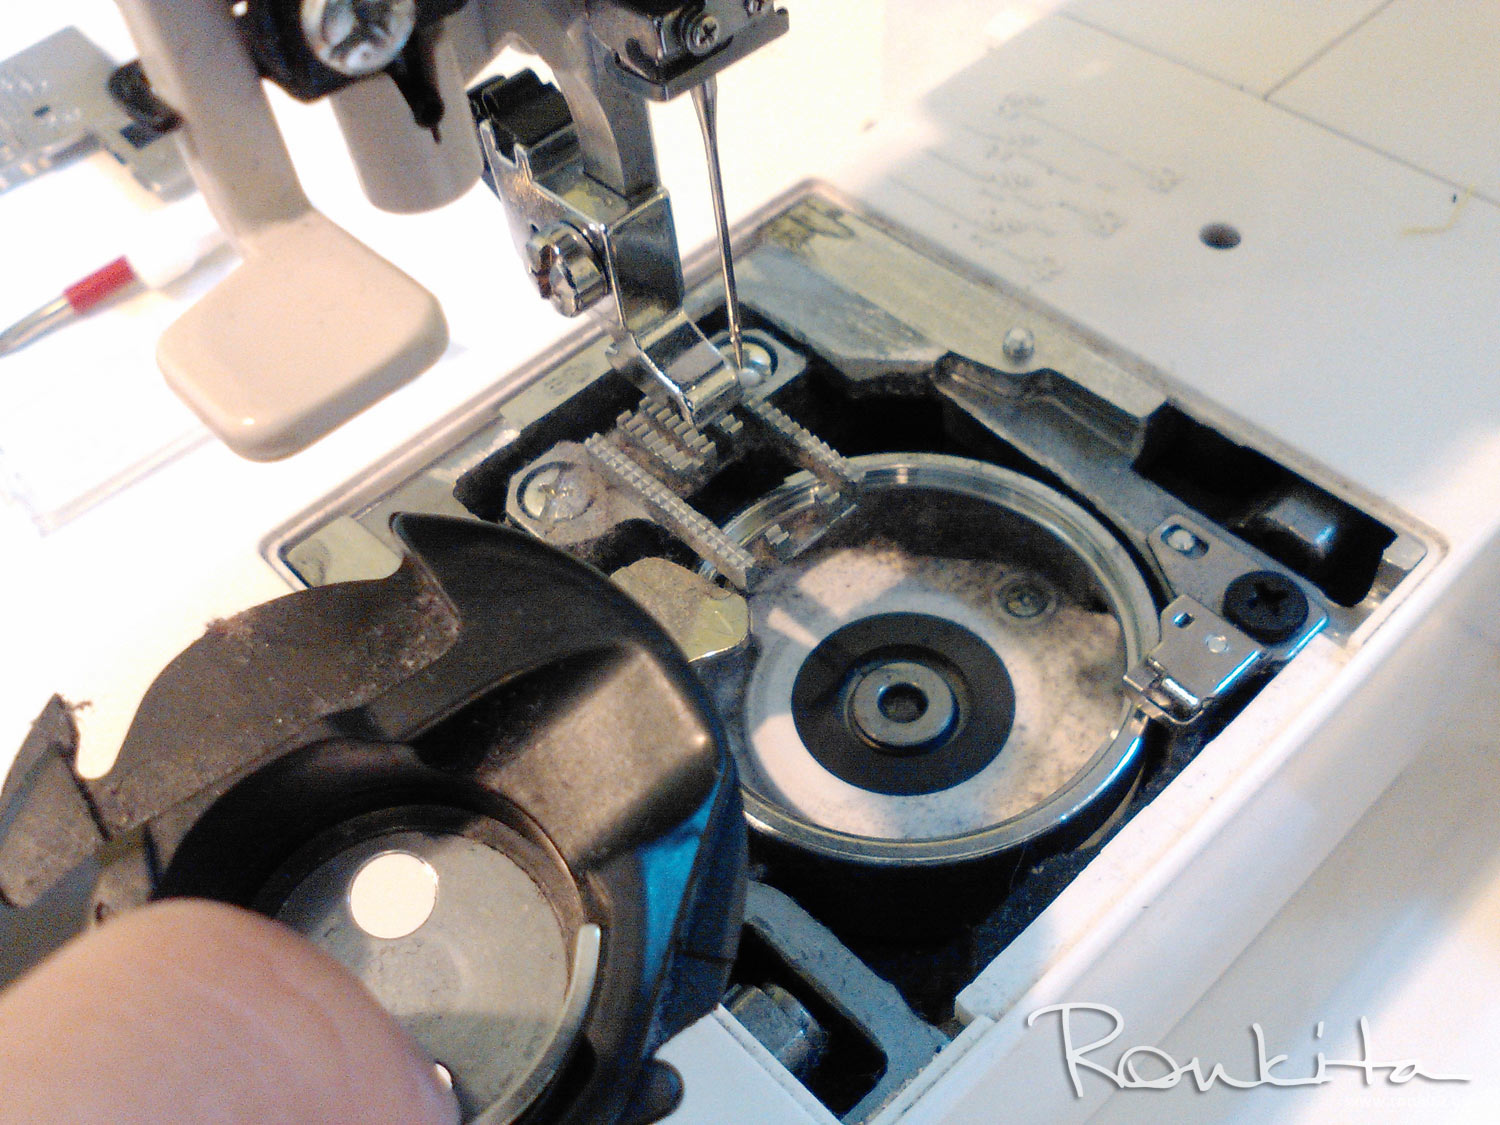
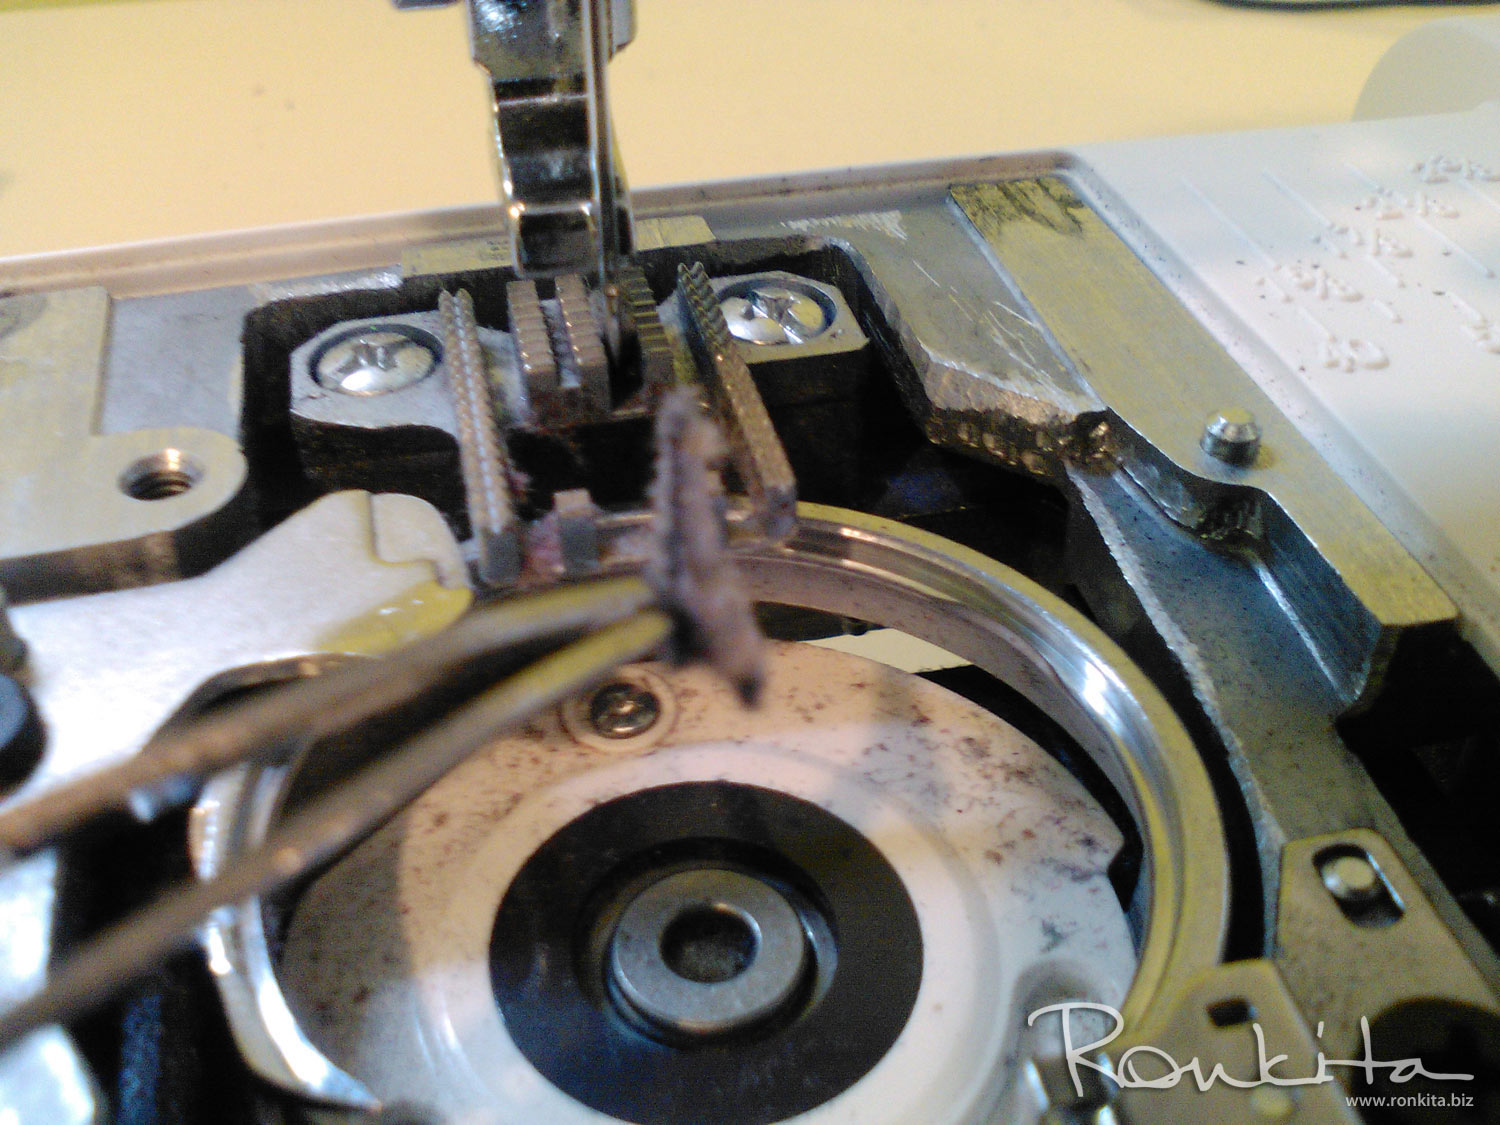
Before oiling, blow out all lint and dirt. Use your brush to get wedged in pieces. Using tweezers is often your best bet for removal of lint between the feed dogs.
Dust everything thoroughly!!! You can wipe down any surface grime/dirt with a wipee (see the dirt/lint where the bobbin case sits? Wipe all of that off! Now it's time to oil and lube. One thing to remember: Oil on metal and grease on plastic (unless otherwise specifically noted in your manual). There are a couple of discs as well that you want to oil. These hold oil and help lubricate your machine along the way.
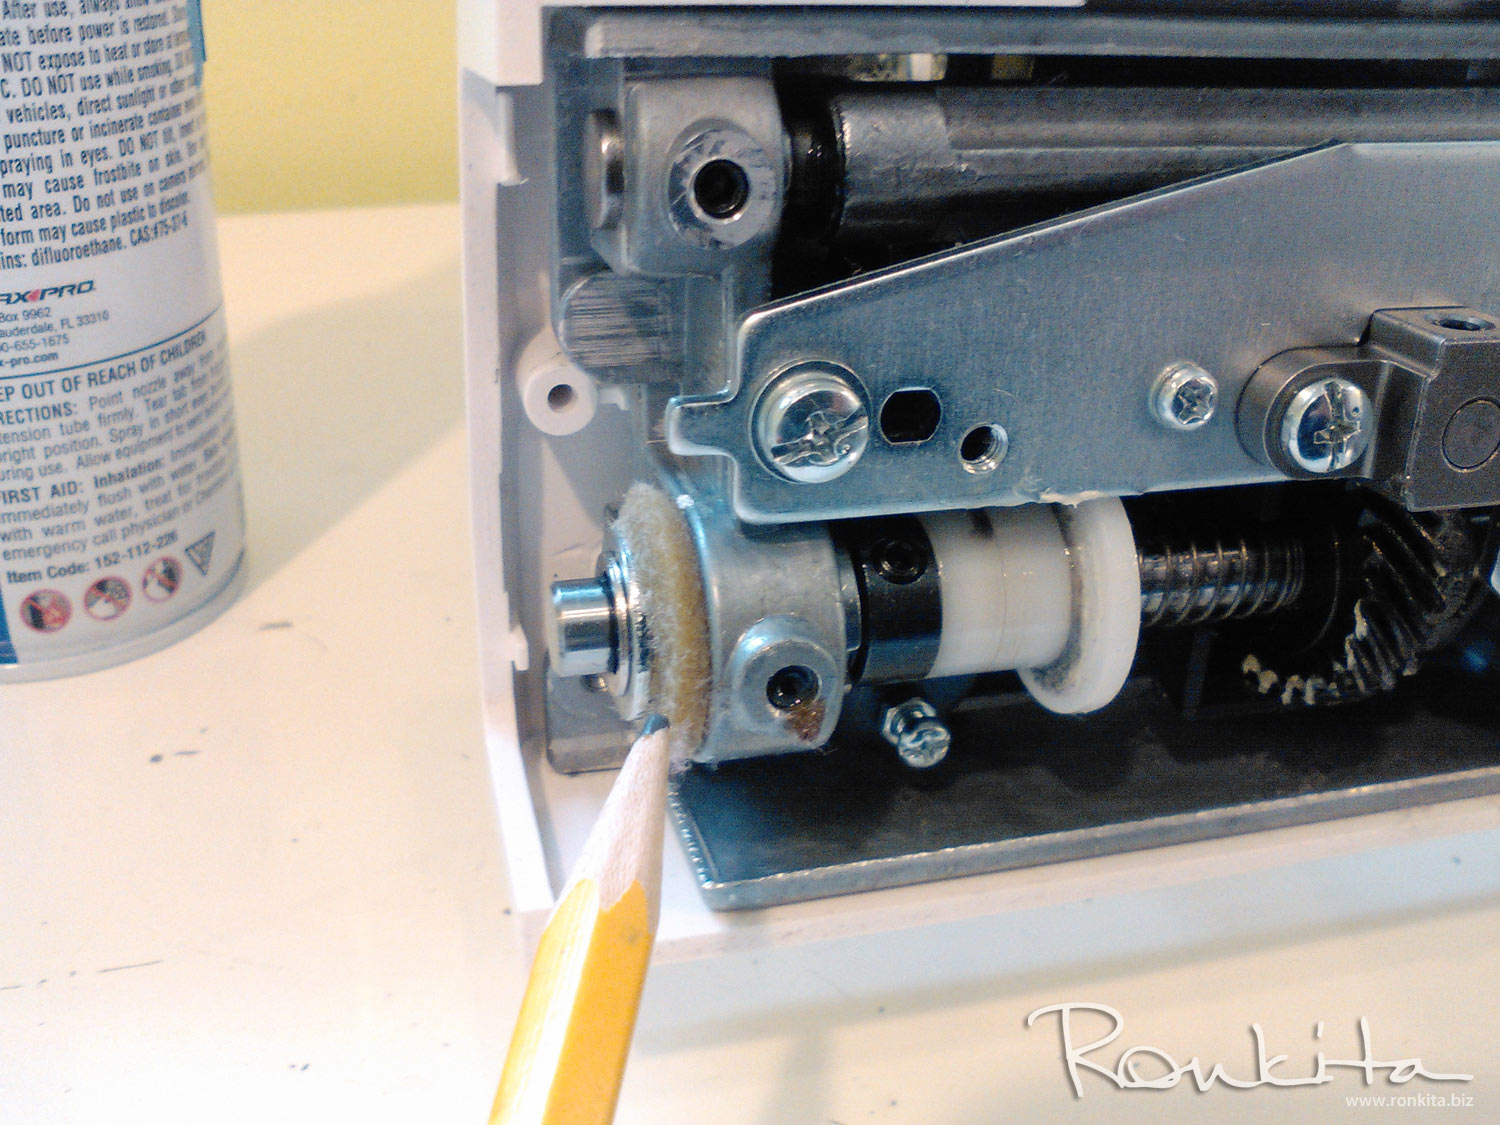
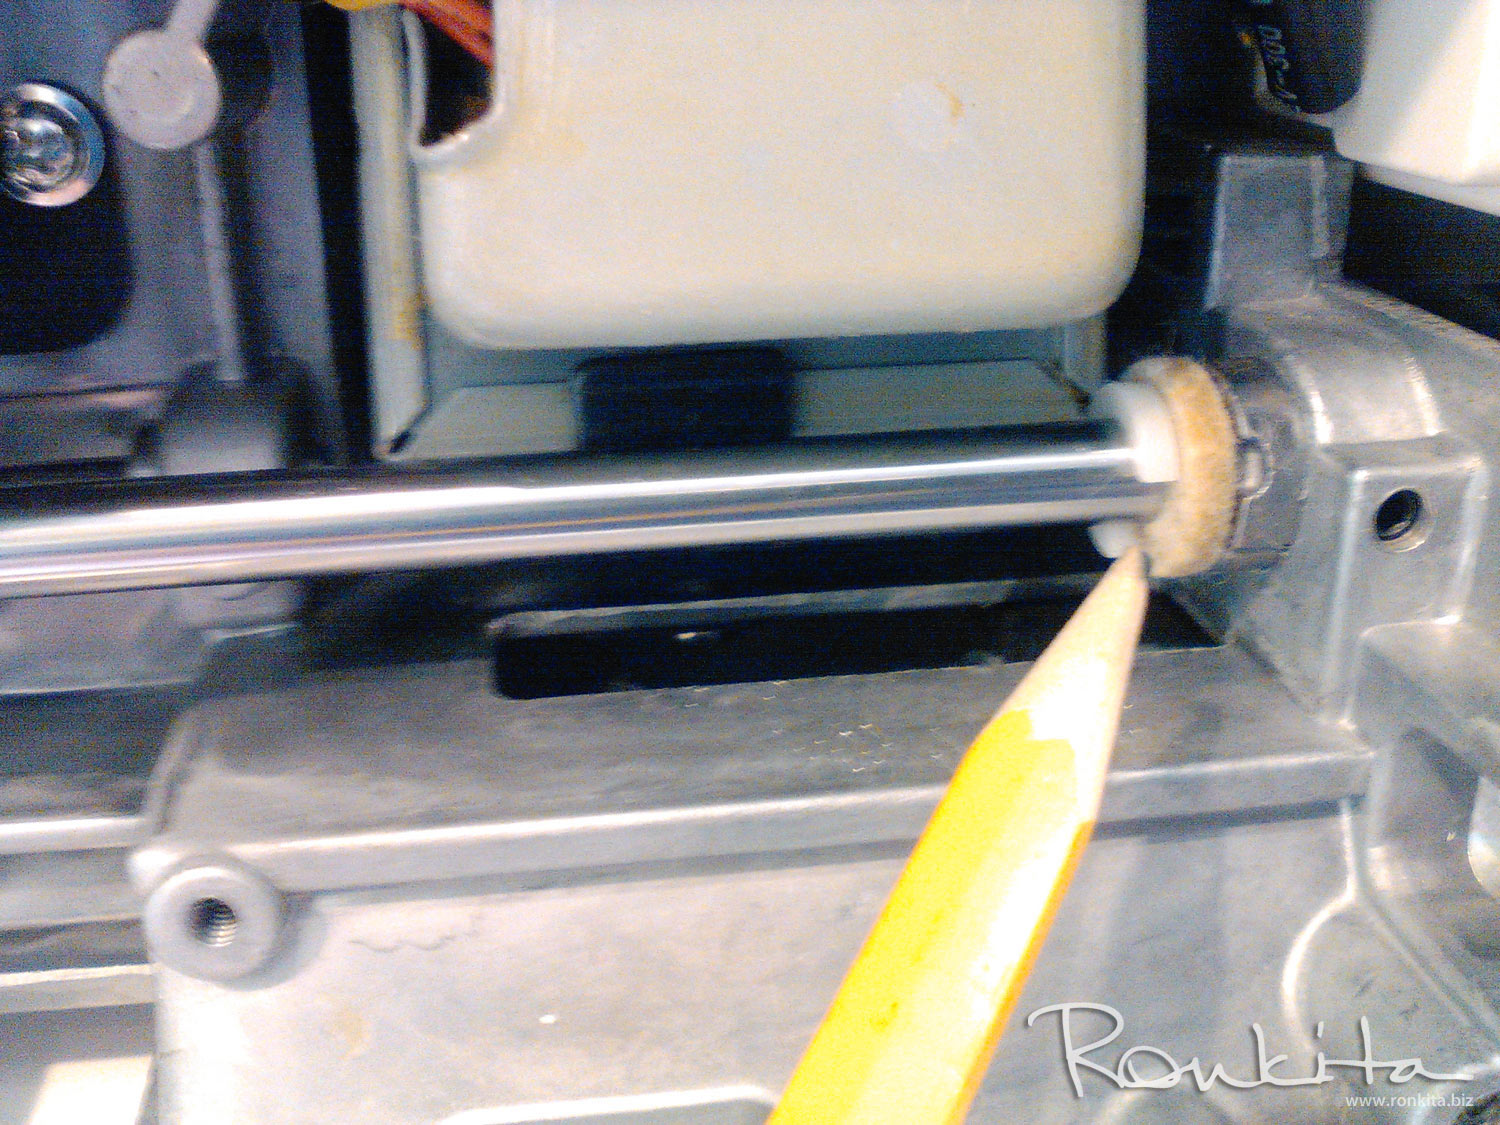
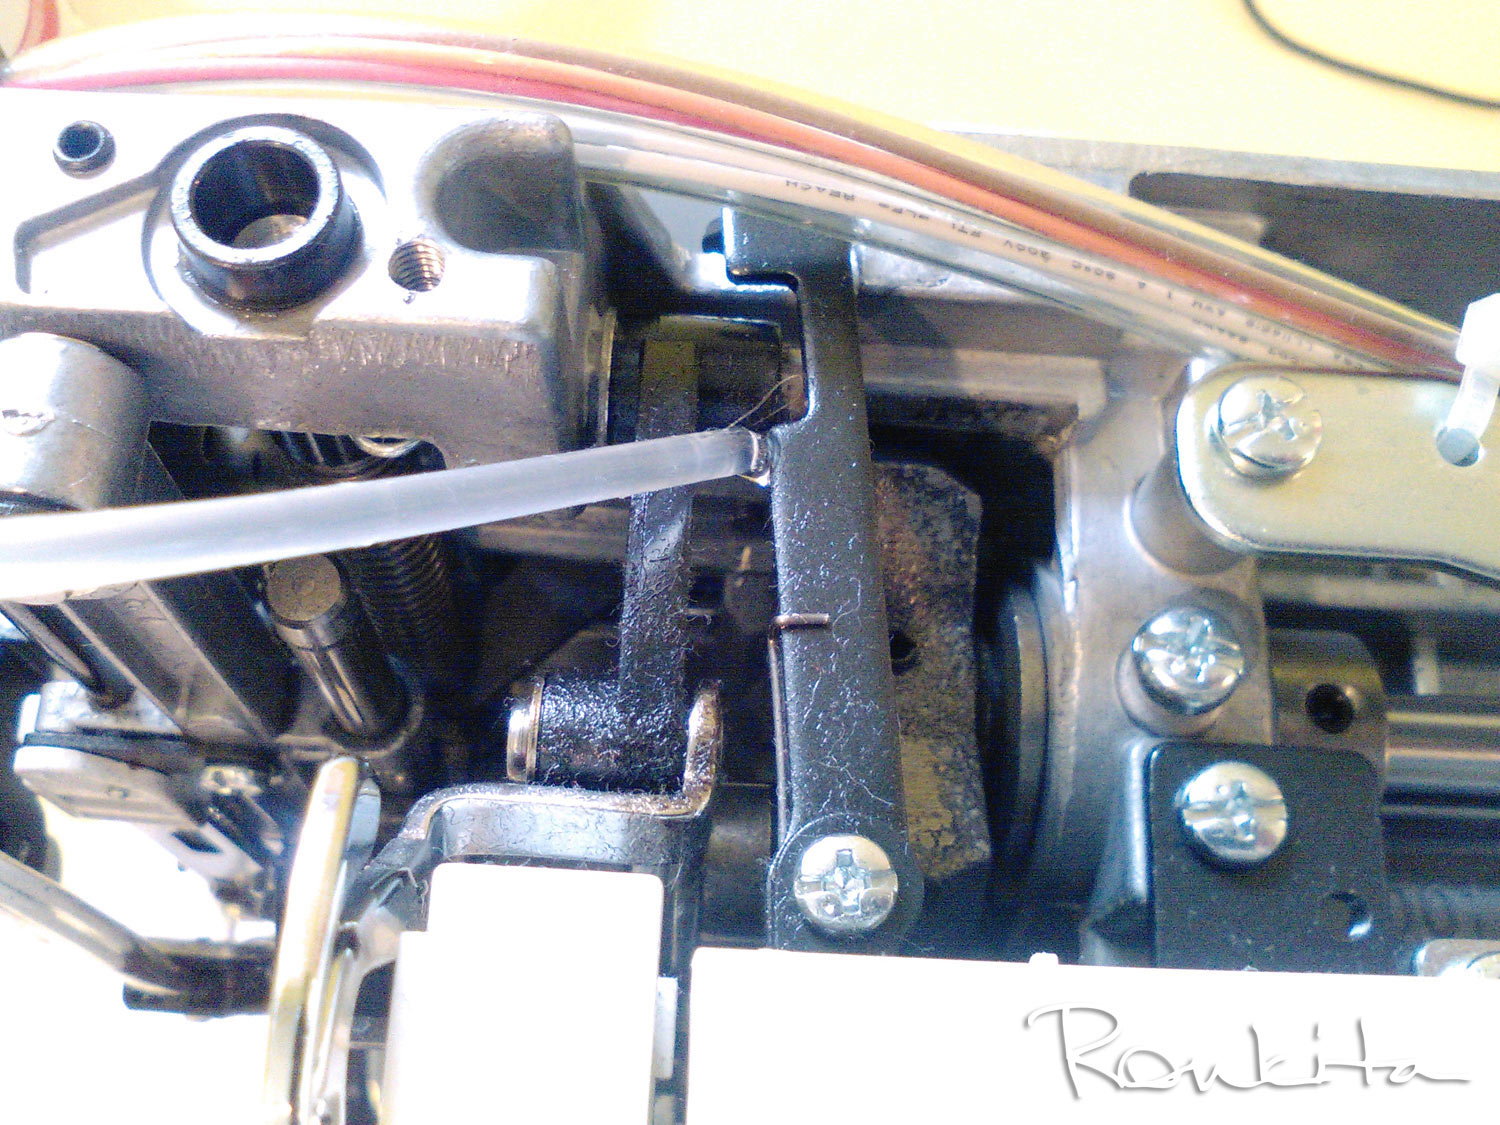
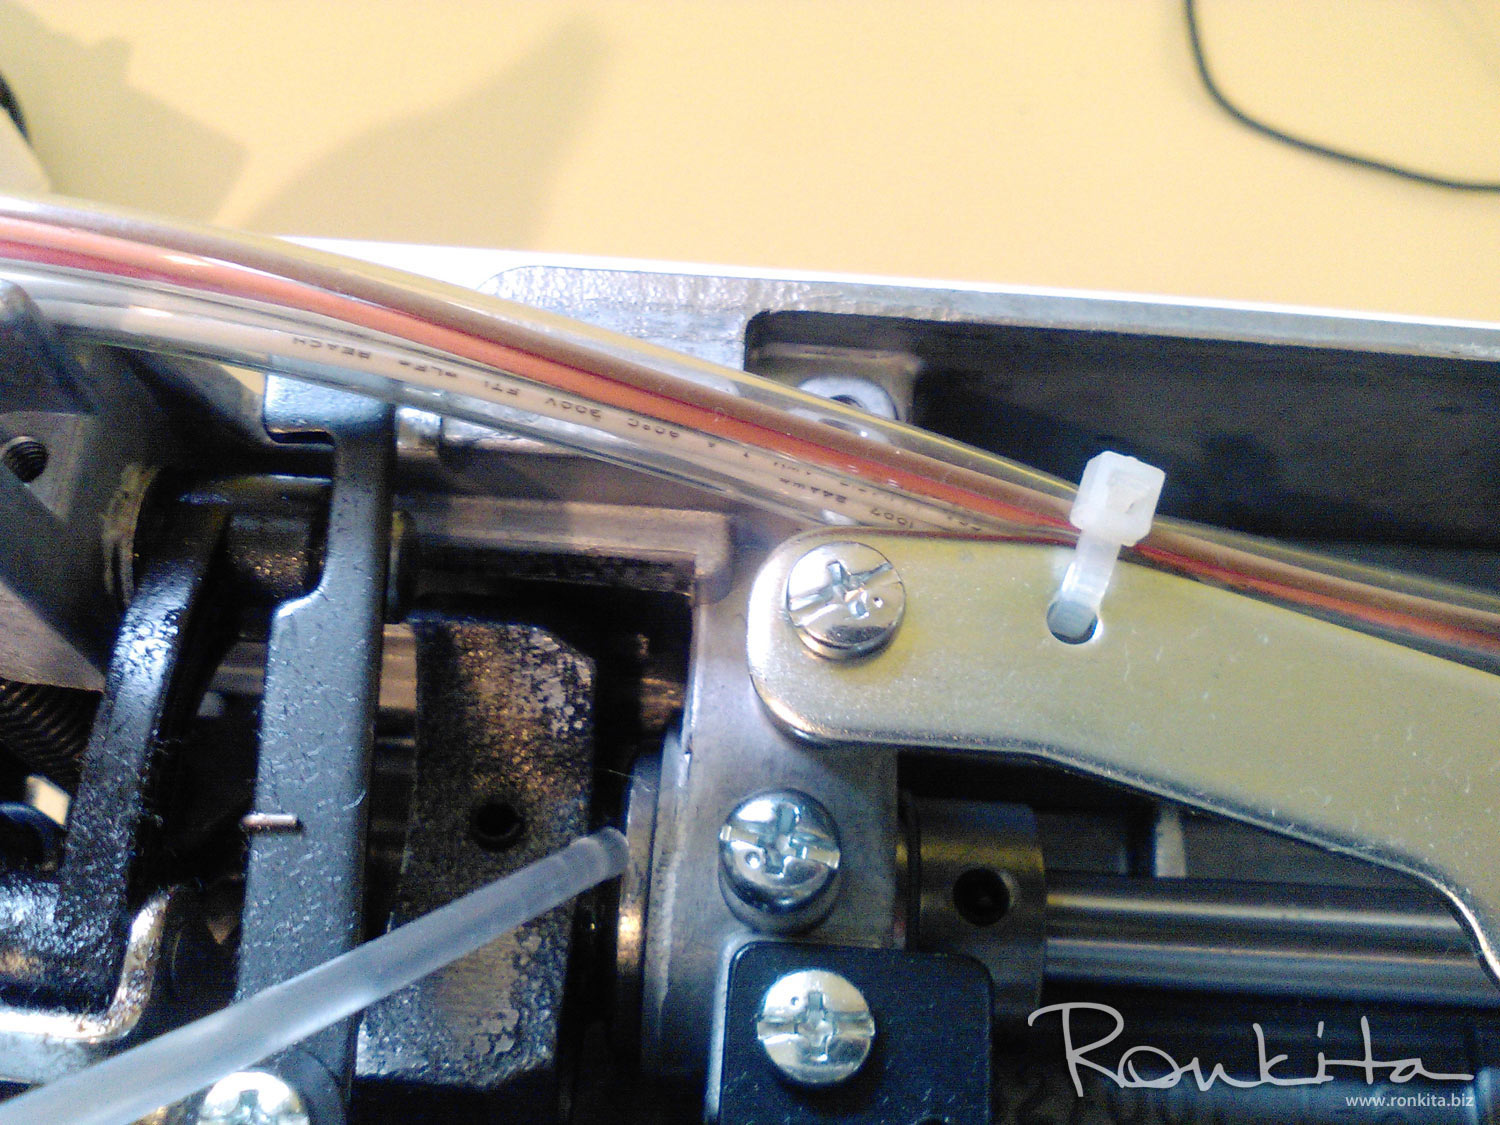
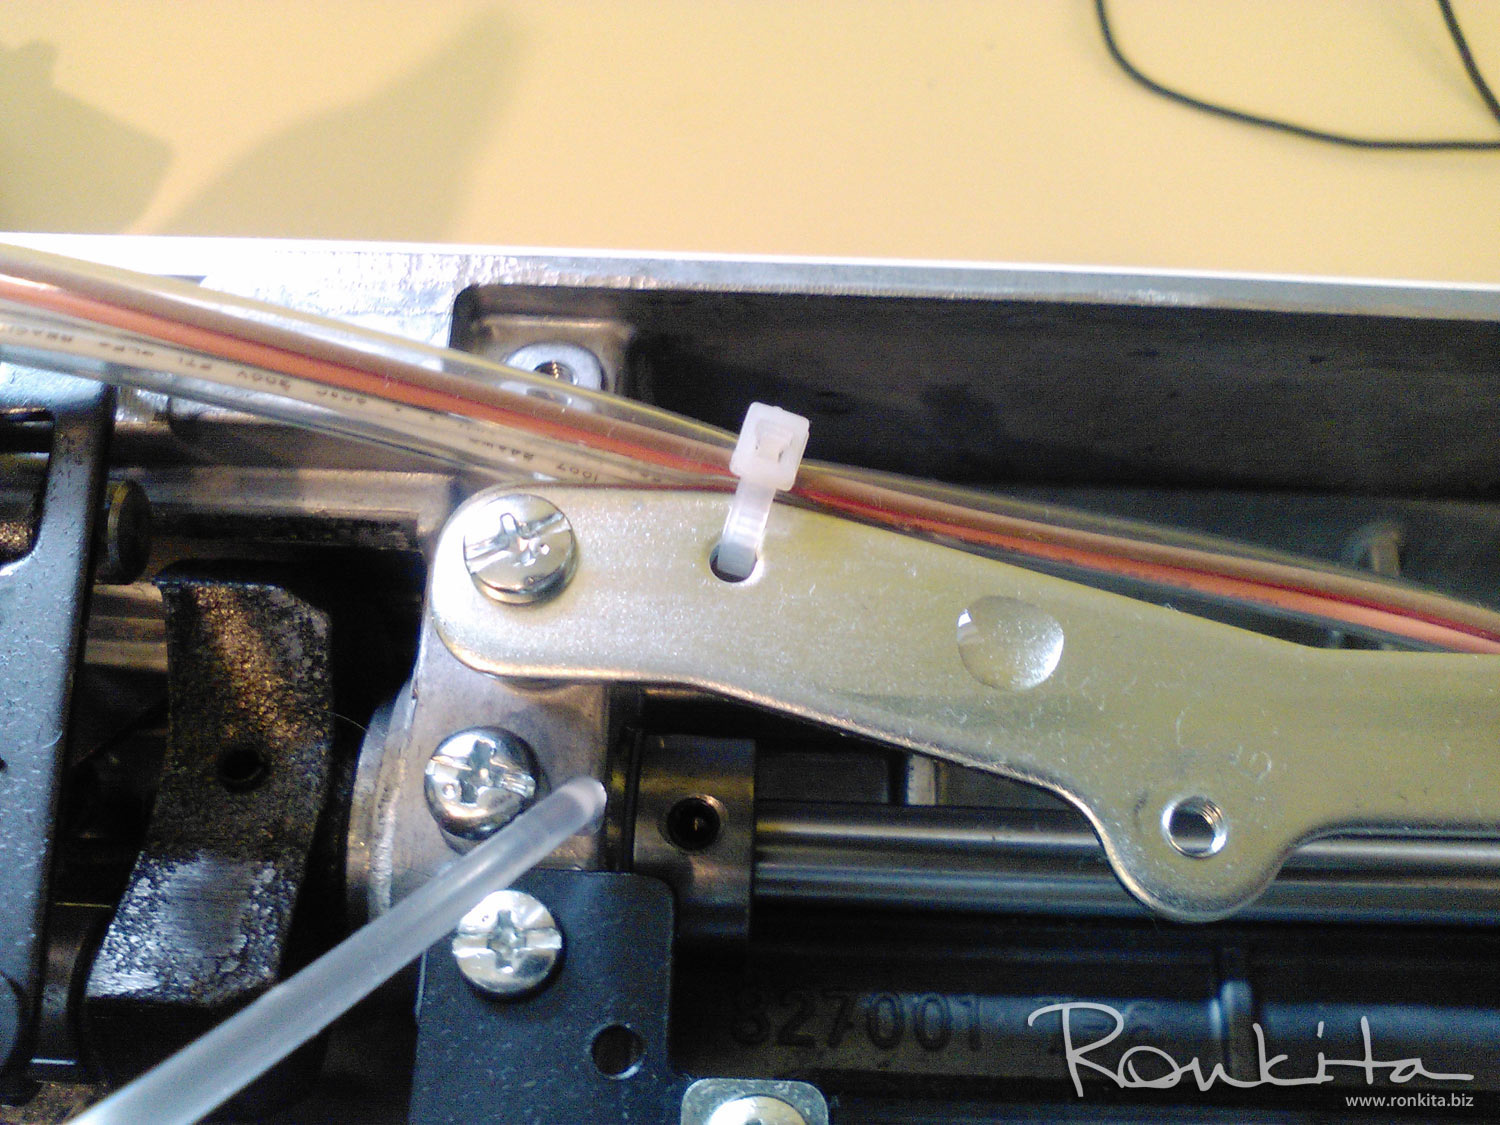
Again, oil----metal; grease----plastic. Oil all gears and rotating parts underneath. I handwheel my machine so I can see everything that moves to make certain I get everything oiled. Now grease all of the plastic moving parts. I use a lint brush so I don't get it all over and it also allows me to get into small places.
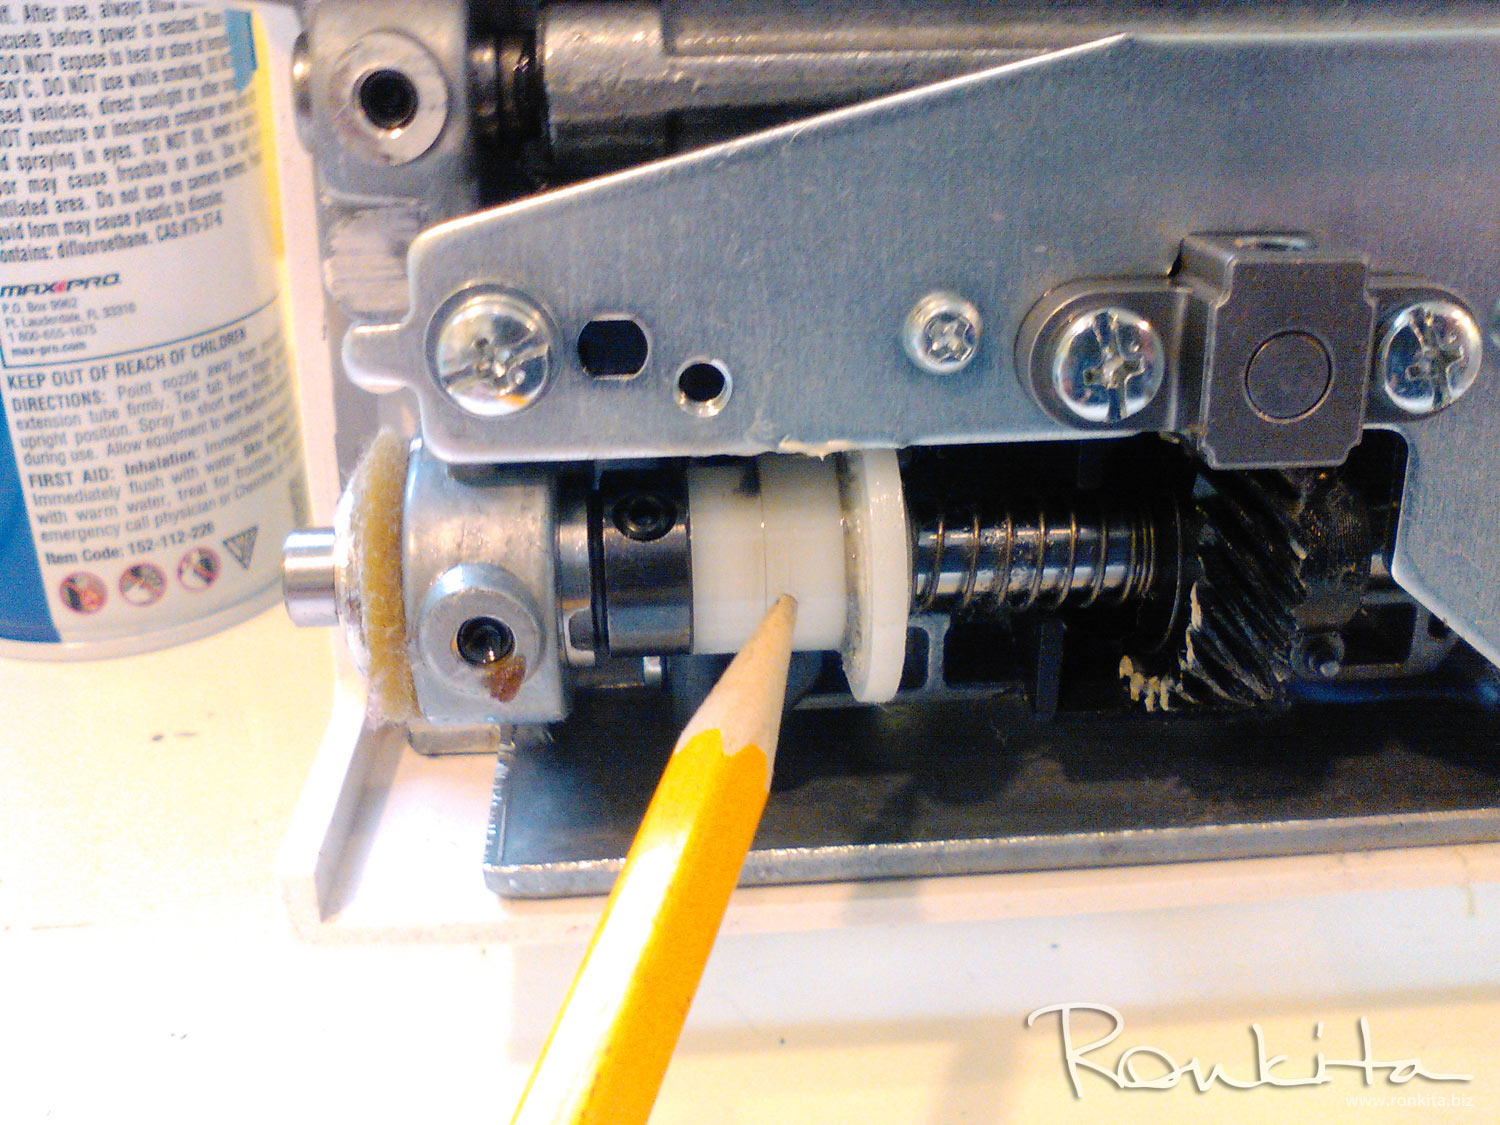
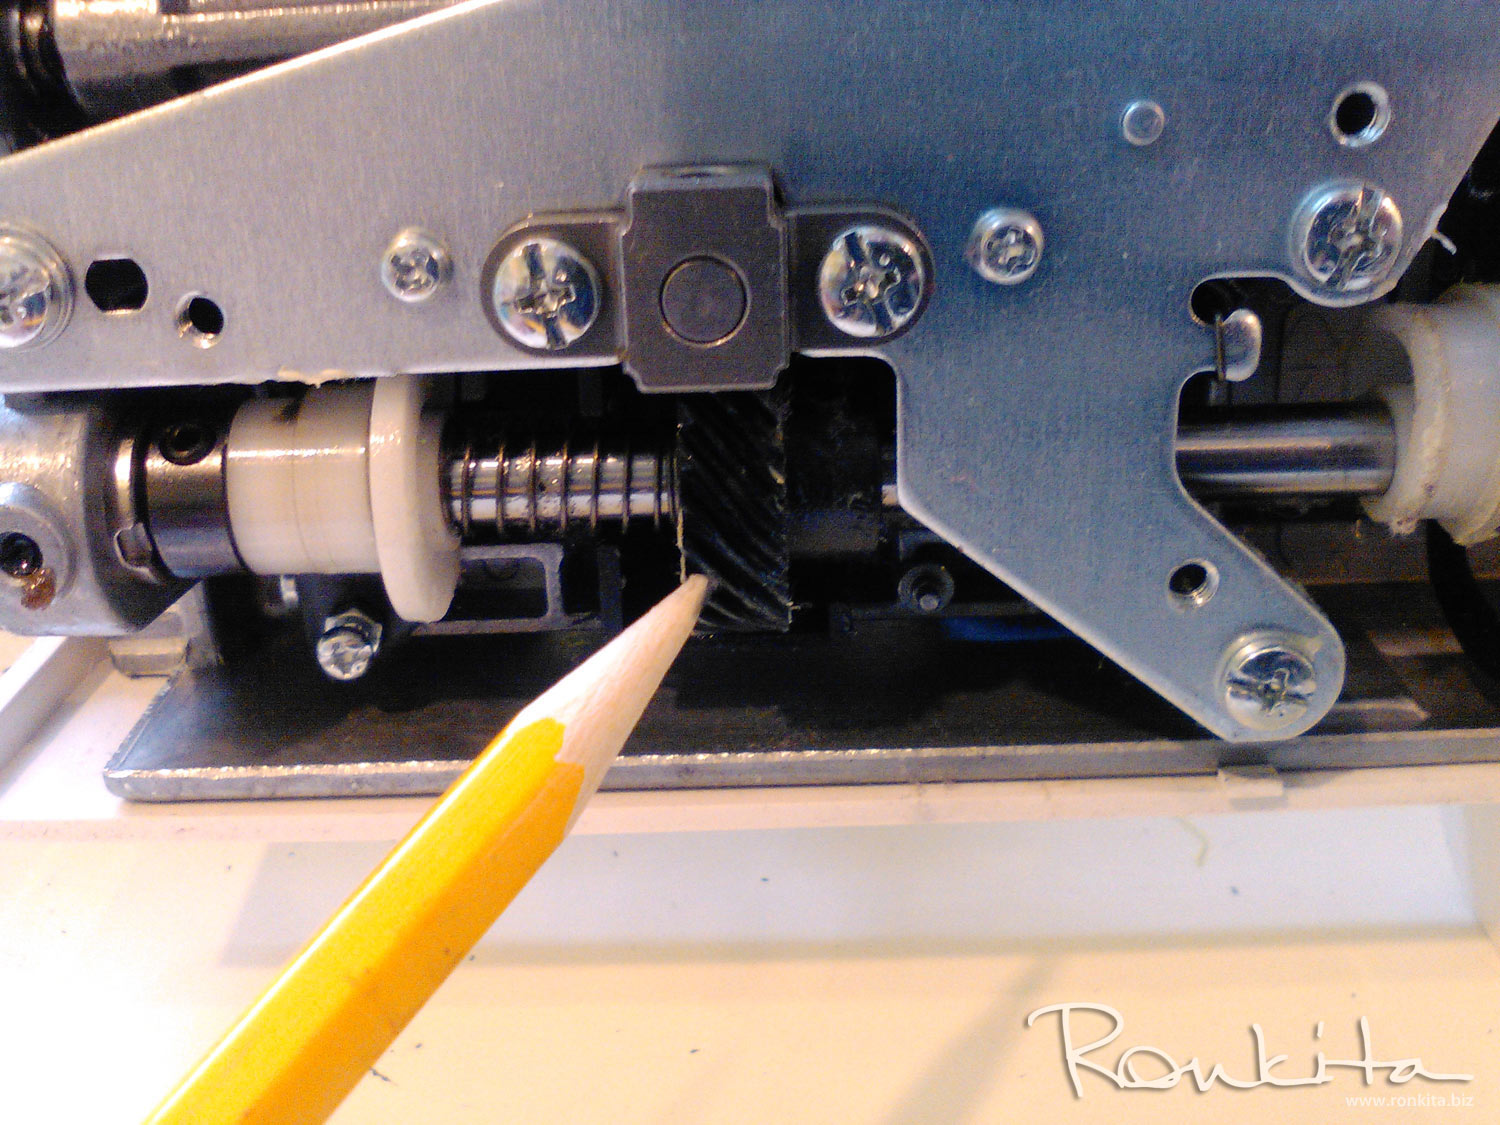
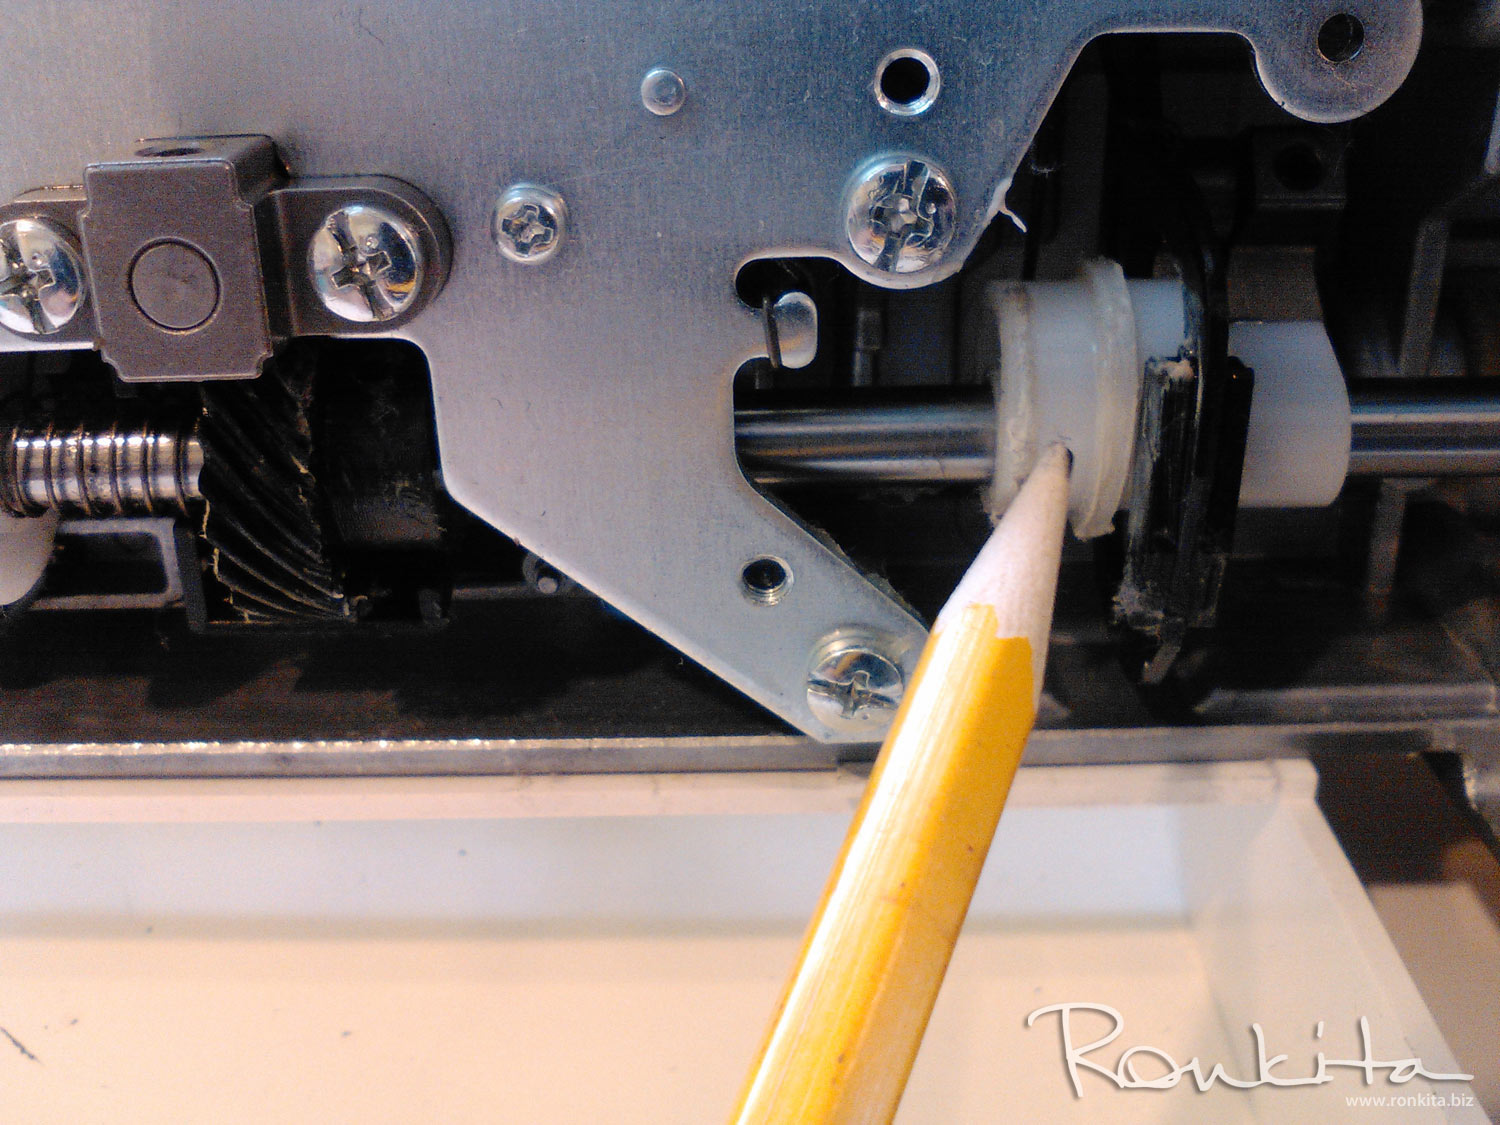
Sit your machine upright and oil all parts on top. Again, rotate your handwheel to see what gears/parts move near your bobbin case. You also want to oil the small felted dot in the center where your bobbin case sits if you have a top loading machine. If your machine is a front loading, just oil where the case rotates. Go ahead and put your bottom panels back on. Put all screws in the same place from where they came. Sit your machine up again and oil the top gears. If your machine has cams, then you will most likely grease them. Oil your needle bar, the shafts and any other rotating parts.


Now replace all appropriate screws (remember to put your top piece on first if it has a hidden screw that lies underneath your side panel). Let your machine run for about 30 seconds to get the oil and grease all up in the machine and then thread and run your scrap pieces through!!!
Sergers
Sergers require more frequent cleaning, but not as many steps for basic cleaning/maintenance. First you want to unthread your machine. Then you want to slide your front panel out to reveal the front of your machine. Open the left side panel as well.
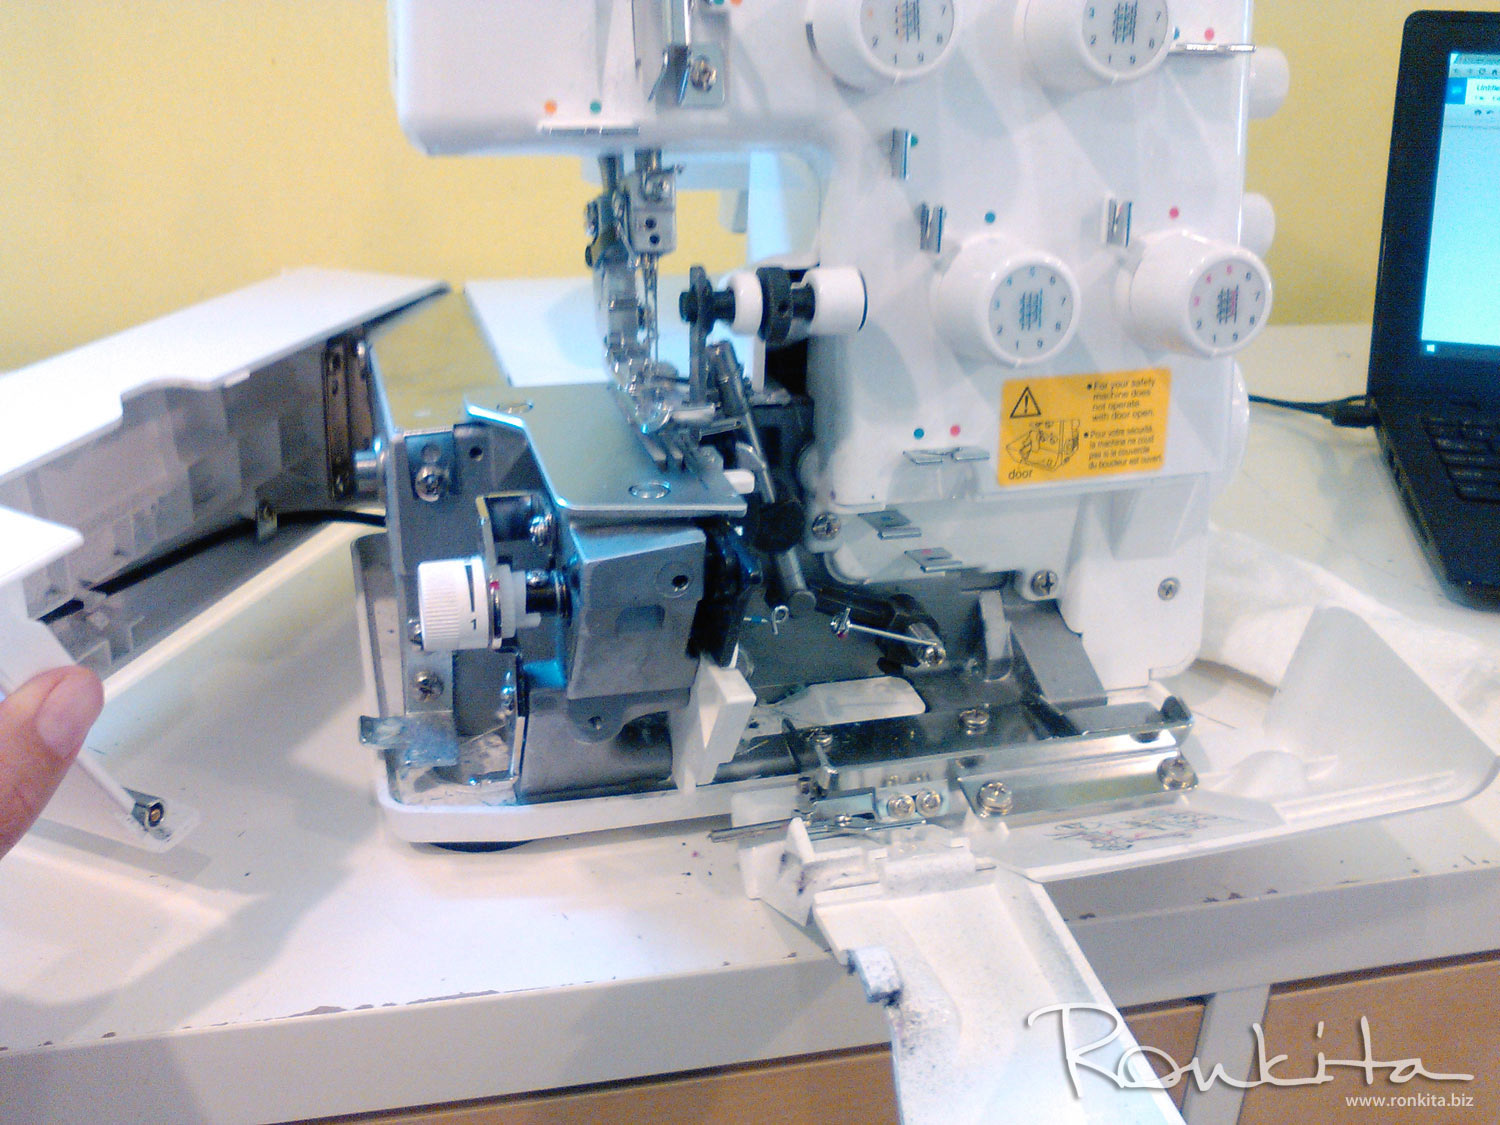
Remove your needle plate just as you did on your sewing machine and set aside. Remove your presser foot, also.

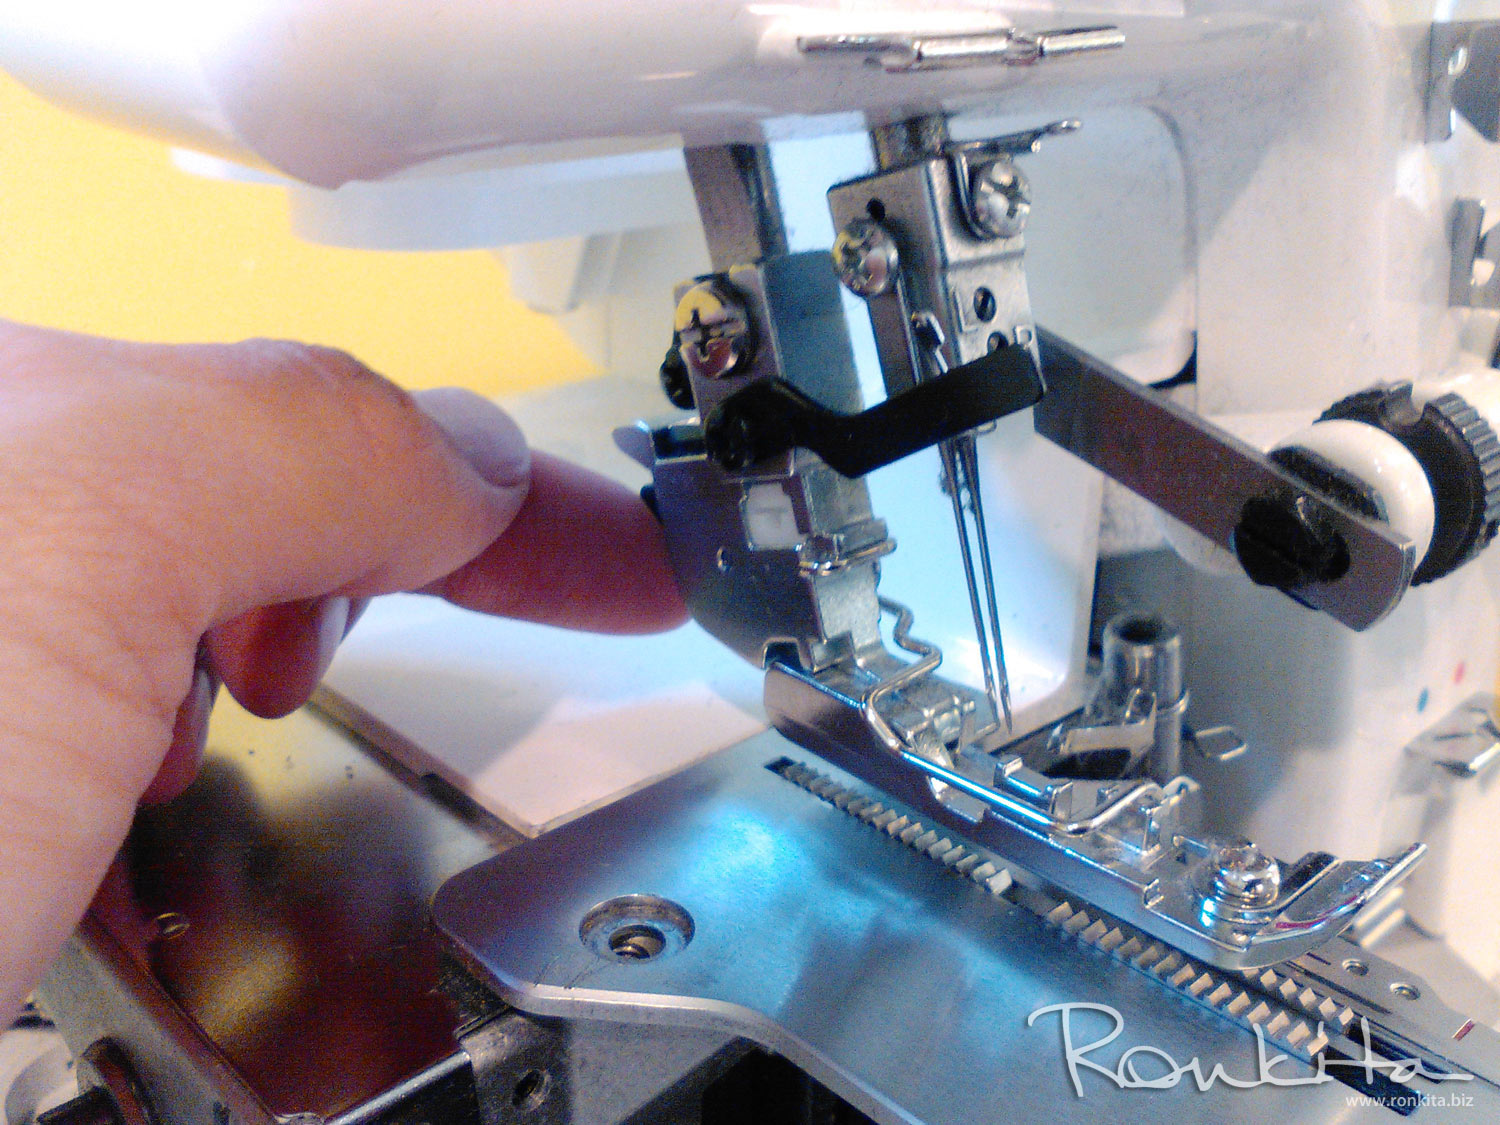
Carefully clean the feed dogs with tweezers before using canned air. If your serger has a slide out side panel (on the left) then open that for more visual on what is dirty.
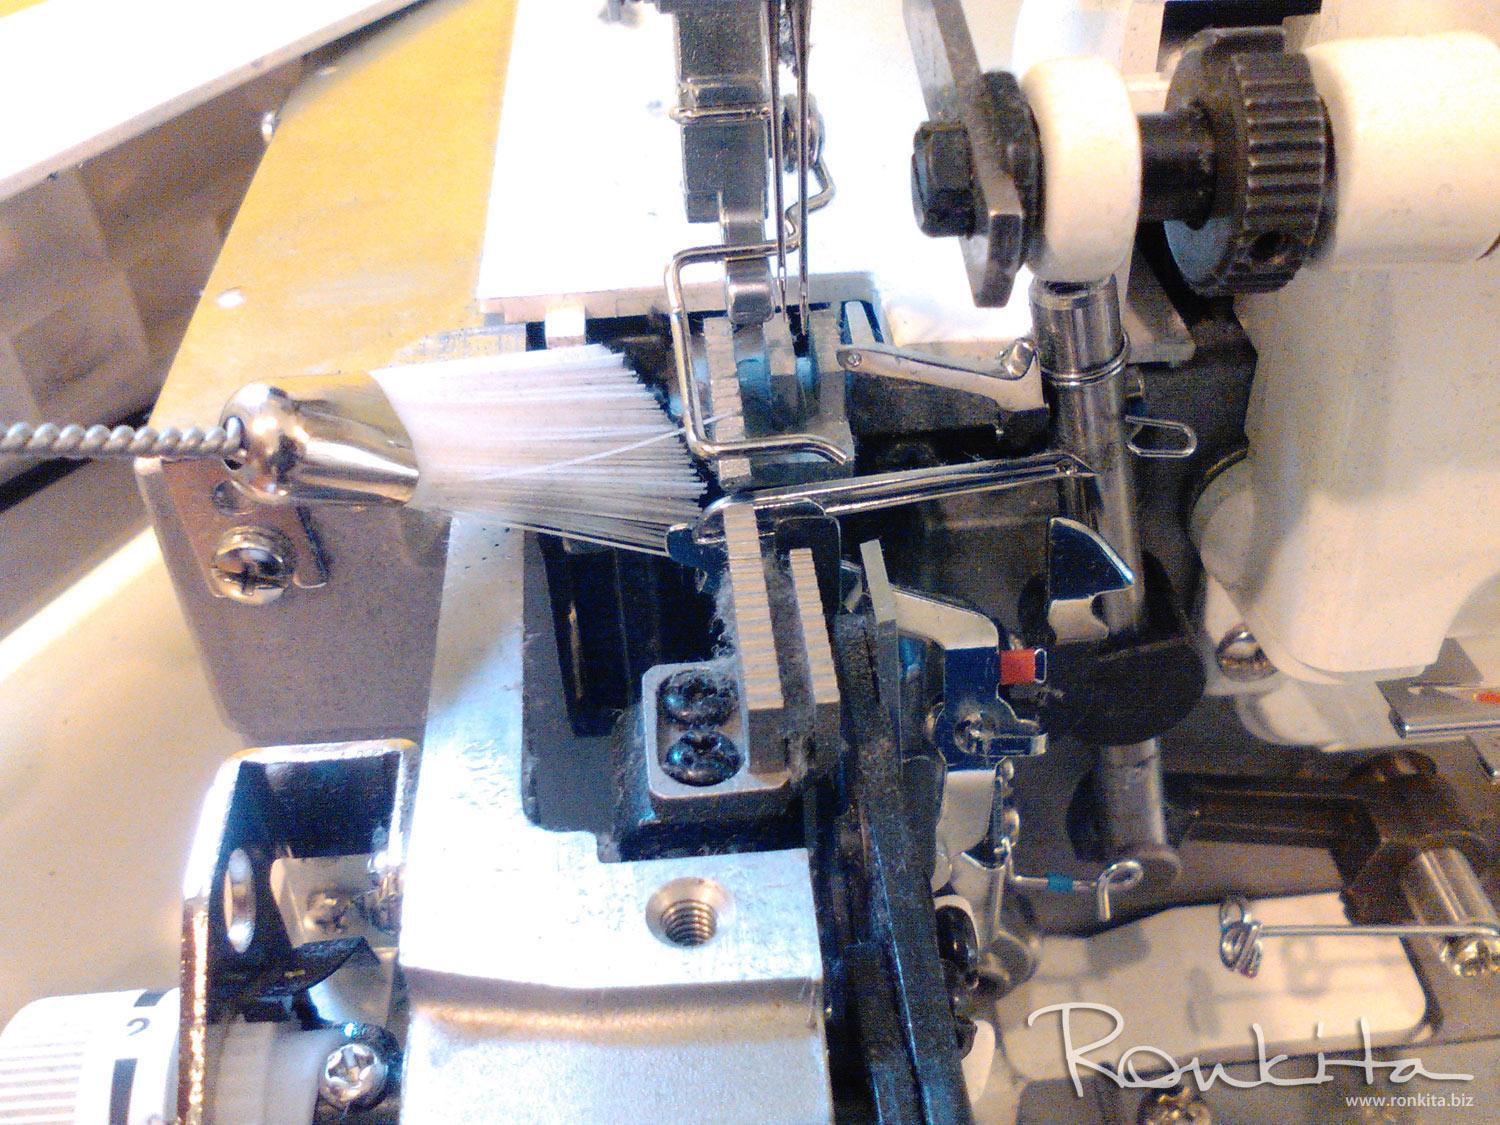
Use your largest brush and just brush, brush, brush all the lint away! Use canned air for small and hard to reach lint pieces. Use tweezers for stray thread that is wrapped in unwanted places.

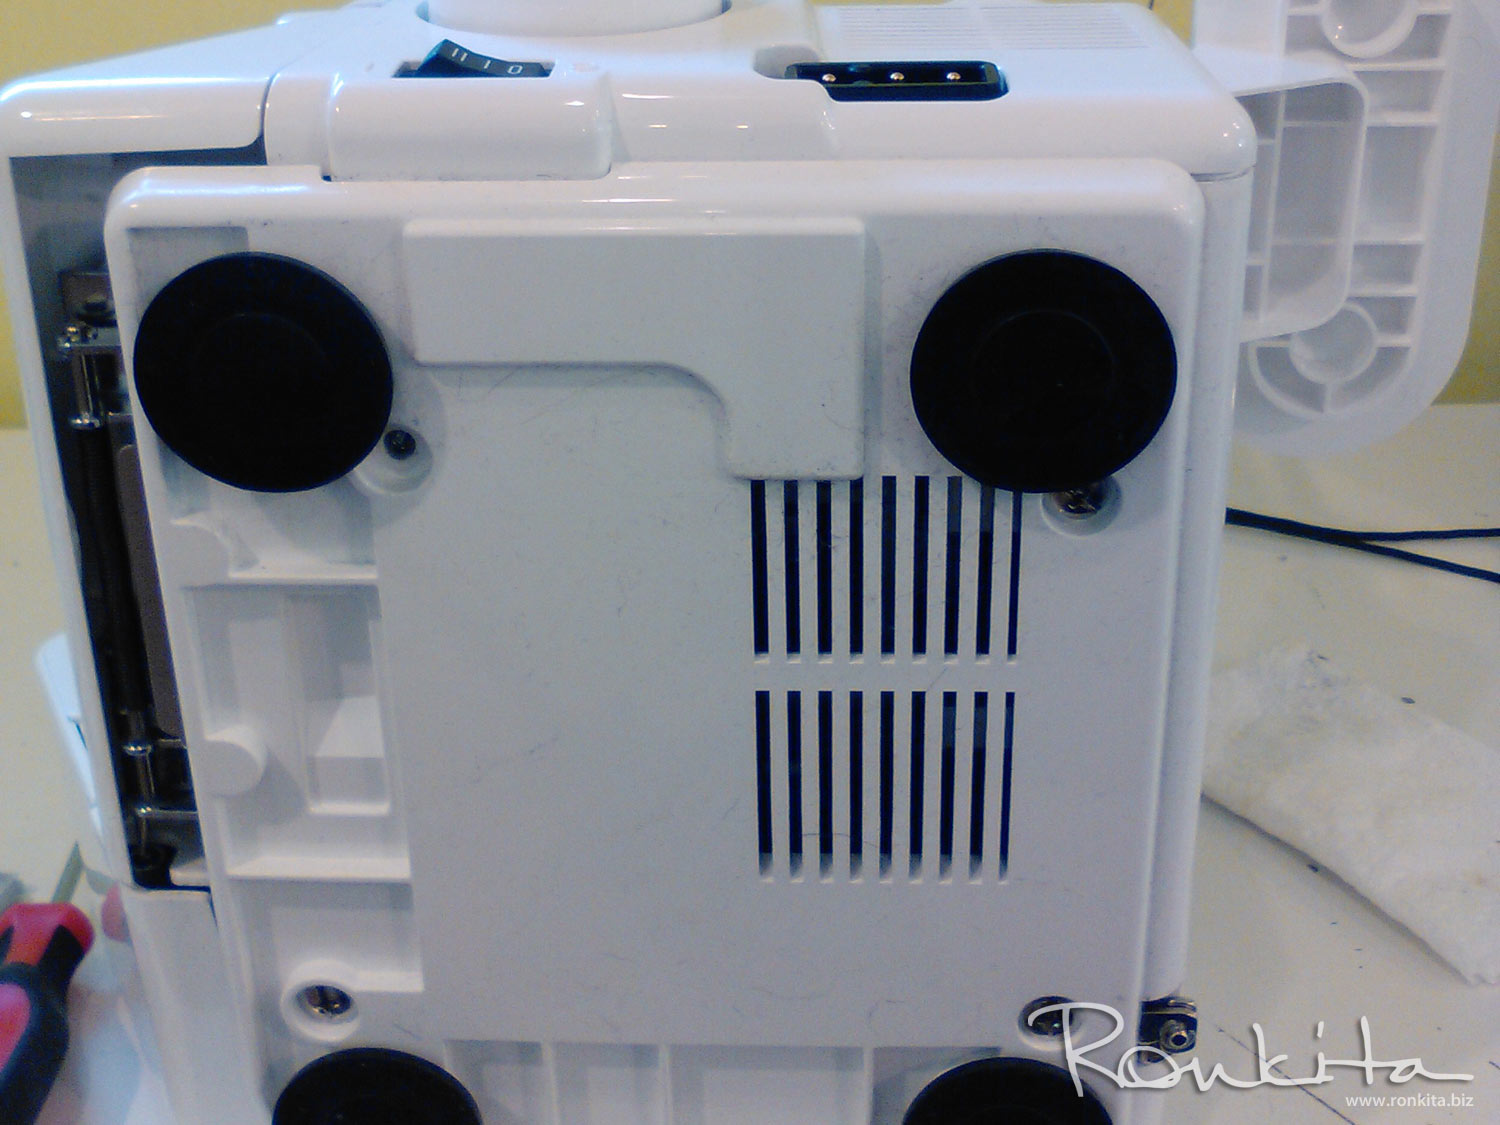
Remove the bottom of your serger by taking out all of your screws. This will reveal the motherload of lint! Brush, brush, brush and spray, spray, spray that lint away!!!!
Just as you did with your sewing machine, turn your handwheel to see all the gears/parts that need oil. Sergers will almost always need oil and most will not need grease. Remember, though: metal=oil and plastic=grease, unless noted in your user's manual. Put your machine back together and thread it up and serge some scrap pieces.
Subscribe to the Ronkita Design YouTube channel to be notified when new sewing tutorial videos are released.

Want to learn more about how to use your sewing machine and other sewing projects? For beginners who have never sewn before or those who already know how to sew, learn beginner to advanced skills in instructor-led sewing classes.